
For today's lesson, open an image in Photoshop.

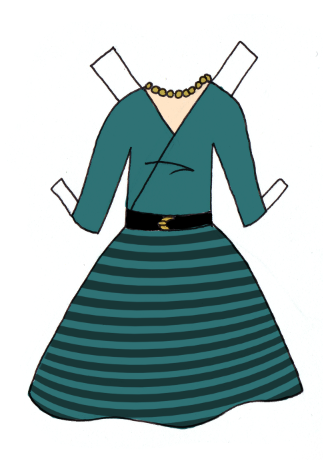
My image has a doll and two dresses. The outlines are on one layer and the colors are on another. We're going to add a pattern to a new layer between the outlines and the color layers.

On the new layer, I use the rectangular select tool & draw out a box. The box should be bigger than the area you're going to cover. Use the paint bucket set to pattern and fill it with a pattern. I went with stripes.

Now we're going to warp the stripes. Go to Edit>Transform>Warp to find the warp tool. Warp has some presets that are similar to Illustrator. You can created arches and a flag wave, etc, with these built-in settings. What we're going to do is a free form warp.


Warp isn't a perfect tool but it can help make things like patterns a little more organic. I discovered this while working on a new paper doll. The costume is a cowboy with a handkerchief tied around his neck & I wanted to have a subtle white pattern curve around it. Warp did the trick.

I'm going to continue to play around with it. Now that I'm aware of the warp tool I'll probably find more uses for it. I hope you'll try it out, too.
I should be back on track for a lesson Monday and a new doll on Friday!
No comments:
Post a Comment
Comments post after approval