Materials List:
Inked paper doll drawing
Scanner
Computer
Photo editing program (Photoshop CS4)
Mouse & drawing tablet with digital pen (Wacom Intuos tablet)
That's my material list. You can do this with a whole lot less than what's listed there. I had a teacher who created very elaborate and detailed digital paintings with a mouse, so the Wacom tablet is totally optional. I love mine, so I'm a little biased.
Make sure you have a clean outline to work with. We can fix it in Photoshop if it isn't perfect, but these should be as close to your final outlines as possible. Scan your image at a high dpi. I scanned mine at 600dpi, but lower would be fine too. 300dpi is a good rule of thumb for anything you want to print.
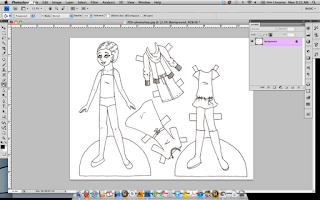
Open your image in Photoshop. The default setting will have a locked layer called Background.
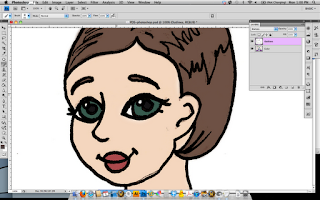
Click on the lock image in your Layers panel (on the right of this image, highlighted purple) and rename your layer "Outlines". This technique is going to use several layers, so make sure you're well-organized.
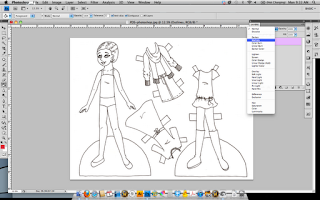
Photoshop has a number of layer setting options. Change your layer from Normal to Multiply using the drop-down menu in the Layers panel. This makes all of the white on your page transparent.
Create a new layer by clicking on the square next to the garbage can in the layers panel (lower right). Drag this layer under your first layer. Lock the Outlines layer by selecting it in the layers panel and clicking the lock.
I renamed that bottom layer "Colors" because this is where all of the base colors are going to go. Select the brush tool and a skin color and color in all of the skintone. It's ok if it's outside the lines! To increase & decrease your brush size on the fly, press the "[" and "]" buttons.
To erase any color outside the lines, I like to use the magic wand tool. Go to the "Outlines" layer, click anywhere outside the doll, then select the "Colors" layer and press the delete/backspace button. And all the extra color is gone!
You can also just go in with the eraser tool but I find selecting & deleting faster and easier.
Continue to block in all of the base colors. The image above shows the colors as viewed under the black outlines. The image below shows the colors without the outlines
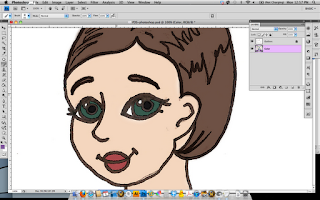
Finally, I want to darken the outlines of the doll. The image below shows the outlines before I darken them. The outlines aren't actually black, they're just a dark grey. Spots where the color is under the outlines, the outlines end up a little darker.
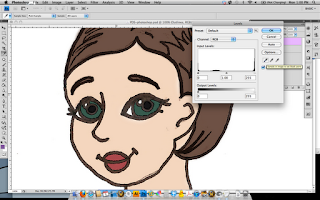
First, unlock the "Outlines" layer. To darken the outlines, I use the Levels menu. Go to Image>Adjustments>Levels.
Select the black eyedropper. Click on a section of the outline that is as close to black as you can. This will change the grey tones to black.
This is what the darkened outlines look like. I've noticed that there are a few spots I want to clean up on the "Outlines" layer. I go in with the eraser & clean up lines and spots. Lock the "Color" layer before you do this so you don't accidentally erase that layer.
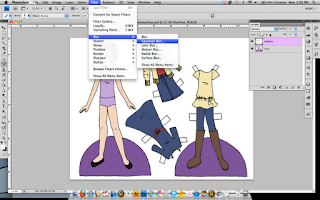
I think the outlines are a little rough, so to smooth them out a bit I use a slight blur. Go to Filter>Blur>Gaussian Blur. I used 1.0 as my setting. It was just enough to slightly smooth the lines without actually making them blurry.
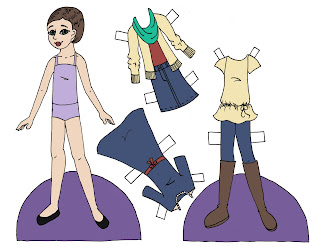
This is a good place to stop. This would be a fine place to print & play with the doll. But I'm not quite done. Next time we'll go over shading the doll and using patterns & textures to enhance the blocks of color.



No comments:
Post a Comment