Monday, March 31, 2014

Inking with Illustrator

Today I'm back with the lesson paper doll!  Sometimes I need to take a break from a project in order to feel enthusiastic about it again.  I think the elements of art lessons were a nice way to remind myself of the how's and why's of art...and now I'm ready to get back into making!

We're going to use the lesson doll template and Illustrator CS4.  This lesson will work with most versions of Illustrator.  I have the newest version, but I'm purposely using an older one.  I want these lessons to reach the largest group of people possible, and not everyone will have the most current software. Also, if it works in the earlier versions, it'll most likely work in the newer ones, too.

To do this lesson, I strongly suggest a digitizer (like a Wacom tablet).  I draw in Illustrator with the stylus & tablet combination.  Get out your sketch, get it scanned (if it's on paper), and fire up the ol' computer!


Place your sketch on one layer, lock it, and create a layer above it.  This is the layer we'll draw on.


I'm going to use the paintbrush tool and one of the brush presets.  You can fully customize your brush by clicking on the settings option (see above) and double clicking on the selected brush.  It brings you to the calligraphic brush options.  We're going to keep it simple for this lesson and use a preset.


And it's as easy as tracing over your sketch! What's great about this method is that you can go in and edit or tweak each line as needed.  These are all lines with a brush applied. That's it! 


I decided that the default lines were a little thick.  I then played around with the settings & drew all of the outlines.  These lines are fairly rough.  I can go in and adjust them at this point.  The image above show all of the points and lines that make up my outlines.

Here's the adjusted and enlarged drawing.  Some of the strokes are a little weird.  It definitely has a hand-drawn look that I like as well as lossless scalability.  I wouldn't color this in Illustrator -- it would be tough the close all of the shapes.  I think this will work best in another program for coloring.  In fact, I plan on coloring this on my phone!

This was a quick overview of the paintbrush tool.  There are some amazing inking tutorials out there that are much more in-depth, like this one on deviantArt.  I plan on experimenting with this more myself.

There will be a doll on Wednesday & Friday.  And, hopefully, a new lesson next Monday!


Friday, March 28, 2014

Fashion Friday - Opal

I've recently come to love Pinterest.  Feel free to follow me if you'd like -- some of it is paper doll related, but I'll admit that a good chunk of it is housewife-y.  That is what I do with most of my day, after all!  So today's doll was inspired by a dress I saw on Pinterest and never bothered to actually pin! It was super mod with scallop-edged pockets and it was black & white.  This year's dolls have been a lot more monochromatic and I don't have a good reason for it, really.

Anyway, here's Opal.  I'm trying to come up with lesson ideas.  I might talk about digital inking on Monday -- it's something I'm new to and really enjoying!

Til then, enjoy the doll!


Download Fashion Friday - Opal pdf here


Wednesday, March 26, 2014

Kawaii Wednesdays - Dragons

Anyone else ready for spring?  I am SO ready to start drawing outside on my deck while my sons run around in the backyard...! Thankfully, this last storm is located far south of me and I don't have to deal with it.  Though I do feel bad for the folks on the Cape....

Anyway, today there be dragons! I have another Kawaii Kids doll today, this time in dragon costumes.  I wanted to have a costume & dragon themed outfit but there wasn't quite enough room on the page.  I might do that for next week.  I created a really cute dragon icon and I'm eager to use it!

Here are the dragon dolls! Have fun coloring & think warm thoughts....


Download Kawaii Kids - Dragons pdf here

Friday, March 21, 2014

Fairy Tale Fashion Friday - Beauty

I've had a very active audience lately!  This is a request from a mother & daughter who check out the dolls together every Friday.  They asked for Belle from Beauty and the Beast as well as Merida from Brave.  I opted to name this doll Beauty instead of Belle (I know Belle = French for Beauty).  I'm rather happy with it, honestly.  The two blouses on the bottom are great and you'll see those again!  As for Merida... I loved the movie Brave.  I love the character.  But she doesn't really fit into my interpretation of a fairy tale.  Doesn't mean I won't do it -- I might.  But I'll need a really big spark of creativity to get me there.

So today we have Beauty.  Enjoy and have an awesome weekend!


Wednesday, March 19, 2014

Kawaii Wednesdays - Owls & Flowers

Today's set is a little different.  I'm still working through the list of suggestions I received.  I love suggestions, especially for the days when I feel less creative! Today's doll is sort of a request as well.

This week I received an email from Greece!  Alexandra is setting up a website and requested use of some of my dolls.  I knew I had a Kawaii doll in the works, so I sent her a couple of those as well.  If you know Greek, feel free to visit her site here.  I tried using Google Translate to figure out what the site is about, but that didn't work out so well!

I'm always flattered & humbled when people find my paper dolls.  Anyway, here's the Kawaii Kids - Owls & Flowers inspired by Alexandra's site.

Download the Kawaii Kids - Owls & Flowers pdf here


Monday, March 17, 2014

St. Patrick's Day!

No lesson for today.  Instead, I have a Paper Jane for you! If you go back to March of last year, you can grab another outfit that will fit this doll.  These dolls are sort of semi-retired until I figure out what to do with them.  I want to do something, I'm just not sure what!

I also have to admit that I'll be spending my day doing family research instead of making paper dolls.  Part of my family is Irish and it's fun to dig into the history today.

Irish or not, have a wonderful St. Patrick's Day!


Friday, March 14, 2014

Fashion Friday: Black & White: Set 2

I have another set of black & white fashion dolls to print & color today.  I've also had a request for more fairy tale dolls, so I may put those up next week.  I have a few dolls I want to get up but haven't yet.  First, I want to make a wedding doll for my parents.  They just celebrated their 35th anniversary and, of course, I was too disorganized to get a doll done in time! I also found out that my cousin's best friend is getting married and I want to make a set for that.  They are a pair of lovely ladies who deserve some wedding fashion fun! I love making wedding dolls and will take every opportunity to make them!

Anyway, here are the coloring dolls for today, in png and PDF.  Have fun coloring!


Wednesday, March 12, 2014

Kawaii Wednesdays - Kittens

Here's another set off of the request list!  I was asked for animal costumes and kittens are the first of several.  I wanted more than just a costume, so each of the kids has a "regular" cat-themed outfit as well.  I wish I could have fit a hairstyle or two, but I ran out of room!

Happy coloring!


Monday, March 10, 2014

Elements of Art: Color


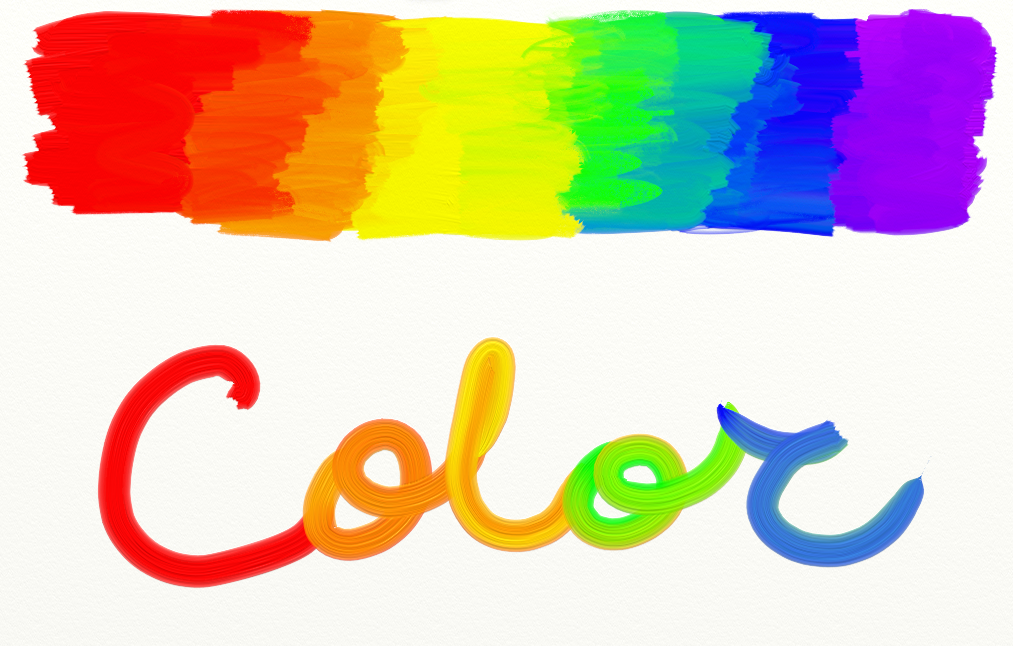
Today is the last in my Elements of Art series and it's all about color! I'm not sure what the next set of lessons will be about, but I'm very happy with how this series turned out.  I'd like to share some more of my in-process dolls soon.  Sometimes I have more going on than I can share immediately!

Anyway, let's look at color!

Color is a simple concept that is also incredibly complex!  There's the science of color, how we perceive color, how some people don't perceive color (ie: color blindness), what we name colors, how we use colors, etc.  There are different types of colors.  For example, the primary colors in light are yellow-cyan-magenta and the primary colors in pigments are red-blue-yellow.  For a really great summary of primary colors, see Wikipedia.

One thing I've always found interesting is the history of color.  Think of how easy it is to walk into an art store and have an amazing array of colors to choose from.  This wasn't always the case! The paint tube was only invented in 1841 and many of our modern pigments date to the Industrial Revolution.  For a wonderful overview of the history of pigment, see Winsor & Newton's history of pigment.

If you want a really in-depth (and super fun!), interactive history of pigments, check out Pigments through the Ages.  I may be spending most of my afternoon playing with this....!

For our purposes, I want to look at a color wheel and define some of the ways that colors interact with each other.

Primary colors: the three basic colors used to create all other colors.  We're going to stick with pigment primaries: red, blue, and yellow.

Secondary colors: the colors created by mixing the primary colors.  Orange, green, and purple are the secondary colors.

Tertiary colors: colors in-between a primary and a secondary color.  The easiest way for me to remember these is to think of them as the hyphenated colors.  Blue-green, red-violet, yellow-orange are the tertiary colors.

Once you have these colors mapped out, it's time to look at how they work together.  These interactions are often called color harmonies and there's another great article on Wikipedia about it.

Analogous color: colors that are next to each other.  This is a quick & easy way to create a monochrome type of palette.

Complementary color: colors that are direct opposites.  Yellow and purple, blue and orange, red and green.  It's handy to know these, particularly with paints.  My high school art teacher taught us to mix black before we were allowed to use tubes of black.  It's a lesson that I think about literally every time I paint!  A great way to mix black (or neutrals) is to use complementary colors. PS -- green and red work best to make black!

Warm and Cool: it's easy to think of warm colors as reds and yellows, and cool colors as blues and greens.  It's a bit more complicated than that, but that serves as a nice shorthand.  There are actually cool yellow and warm blues and everything in between.  My painting palette used to consist of one of each color, but now I include a warm & cool of each pigment.

Tone, tint, and shade: A tone is the "basic" color, ie: red or purple or whatever.  A tint is created by adding white and a tone is created by adding black.

This is a pretty basic overview of color.  It's a topic I could discuss at length!  It's endlessly fascinating and I hope you read some of the links I've included.

If you have time on your hands, go check out Colour Lovers.  They have a vast variety of color palettes available to browse, an iPhone app, and the ability to upload and create your own palettes.  Color Schemer is another favorite of mine.

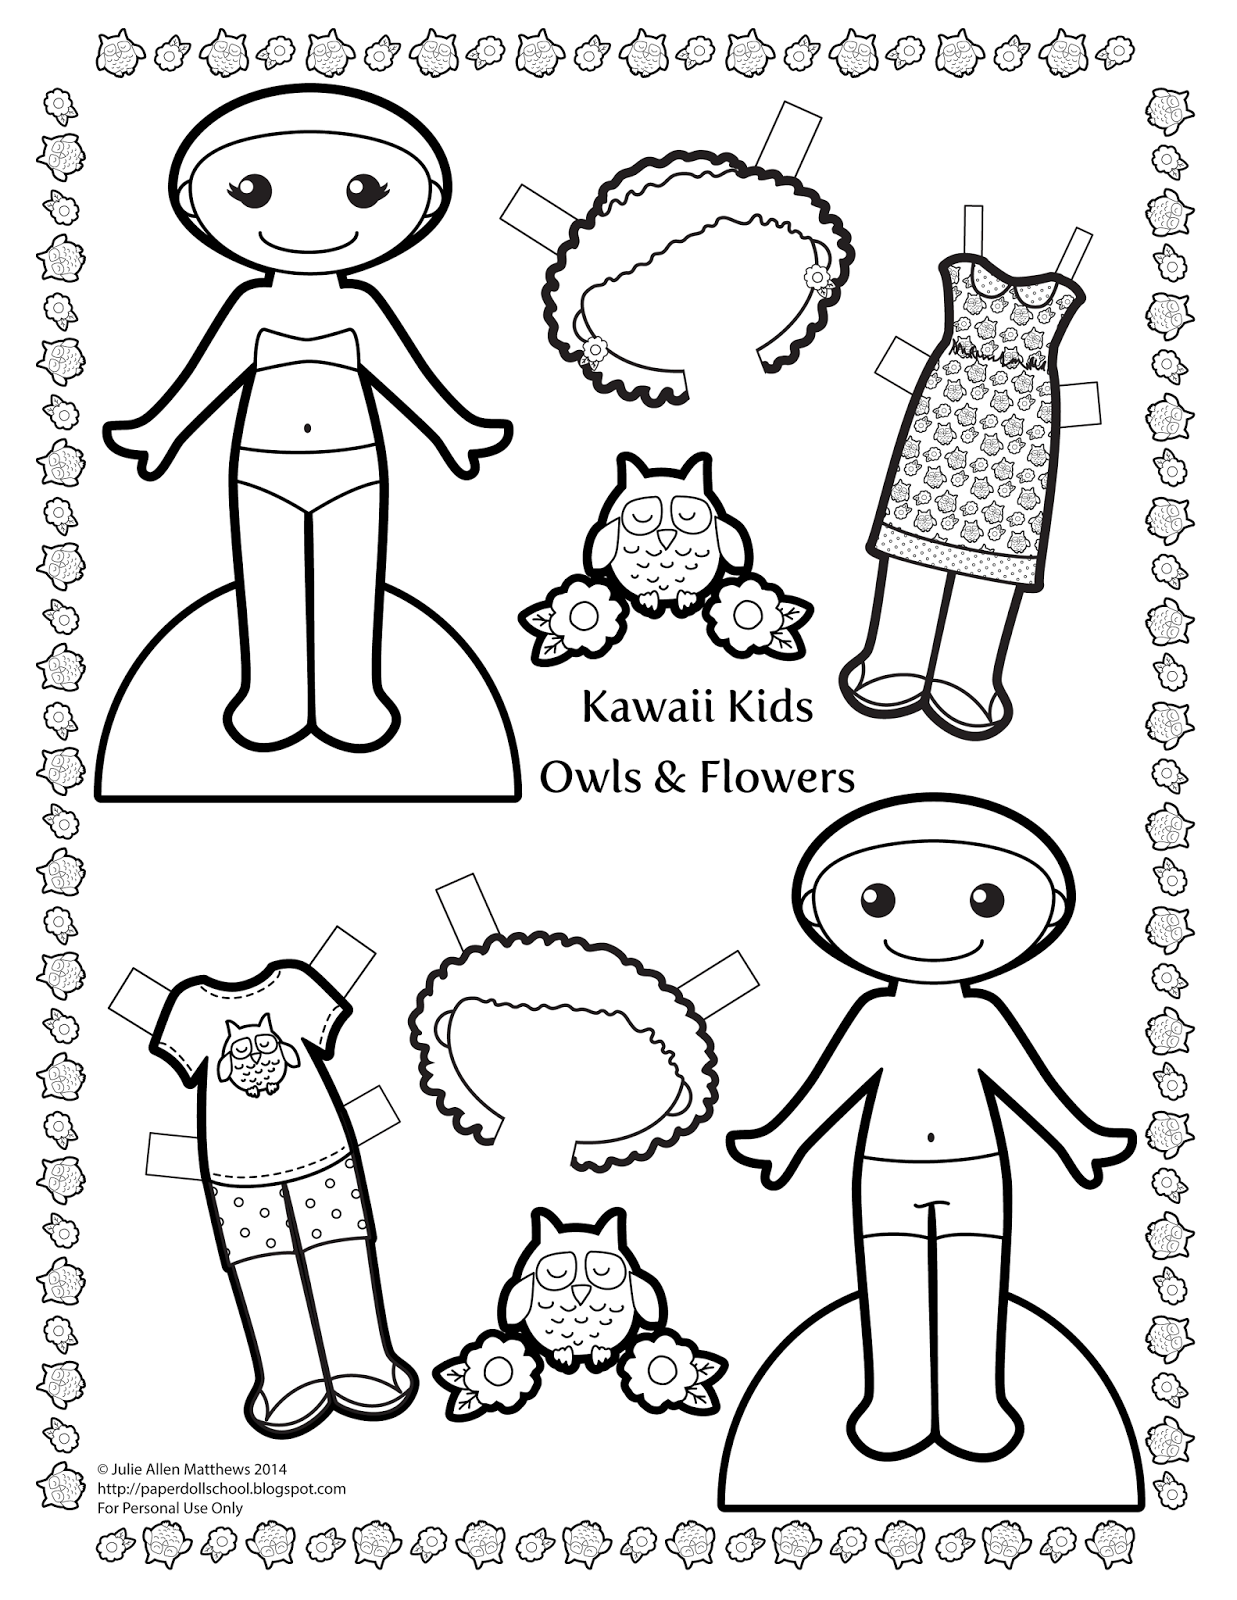
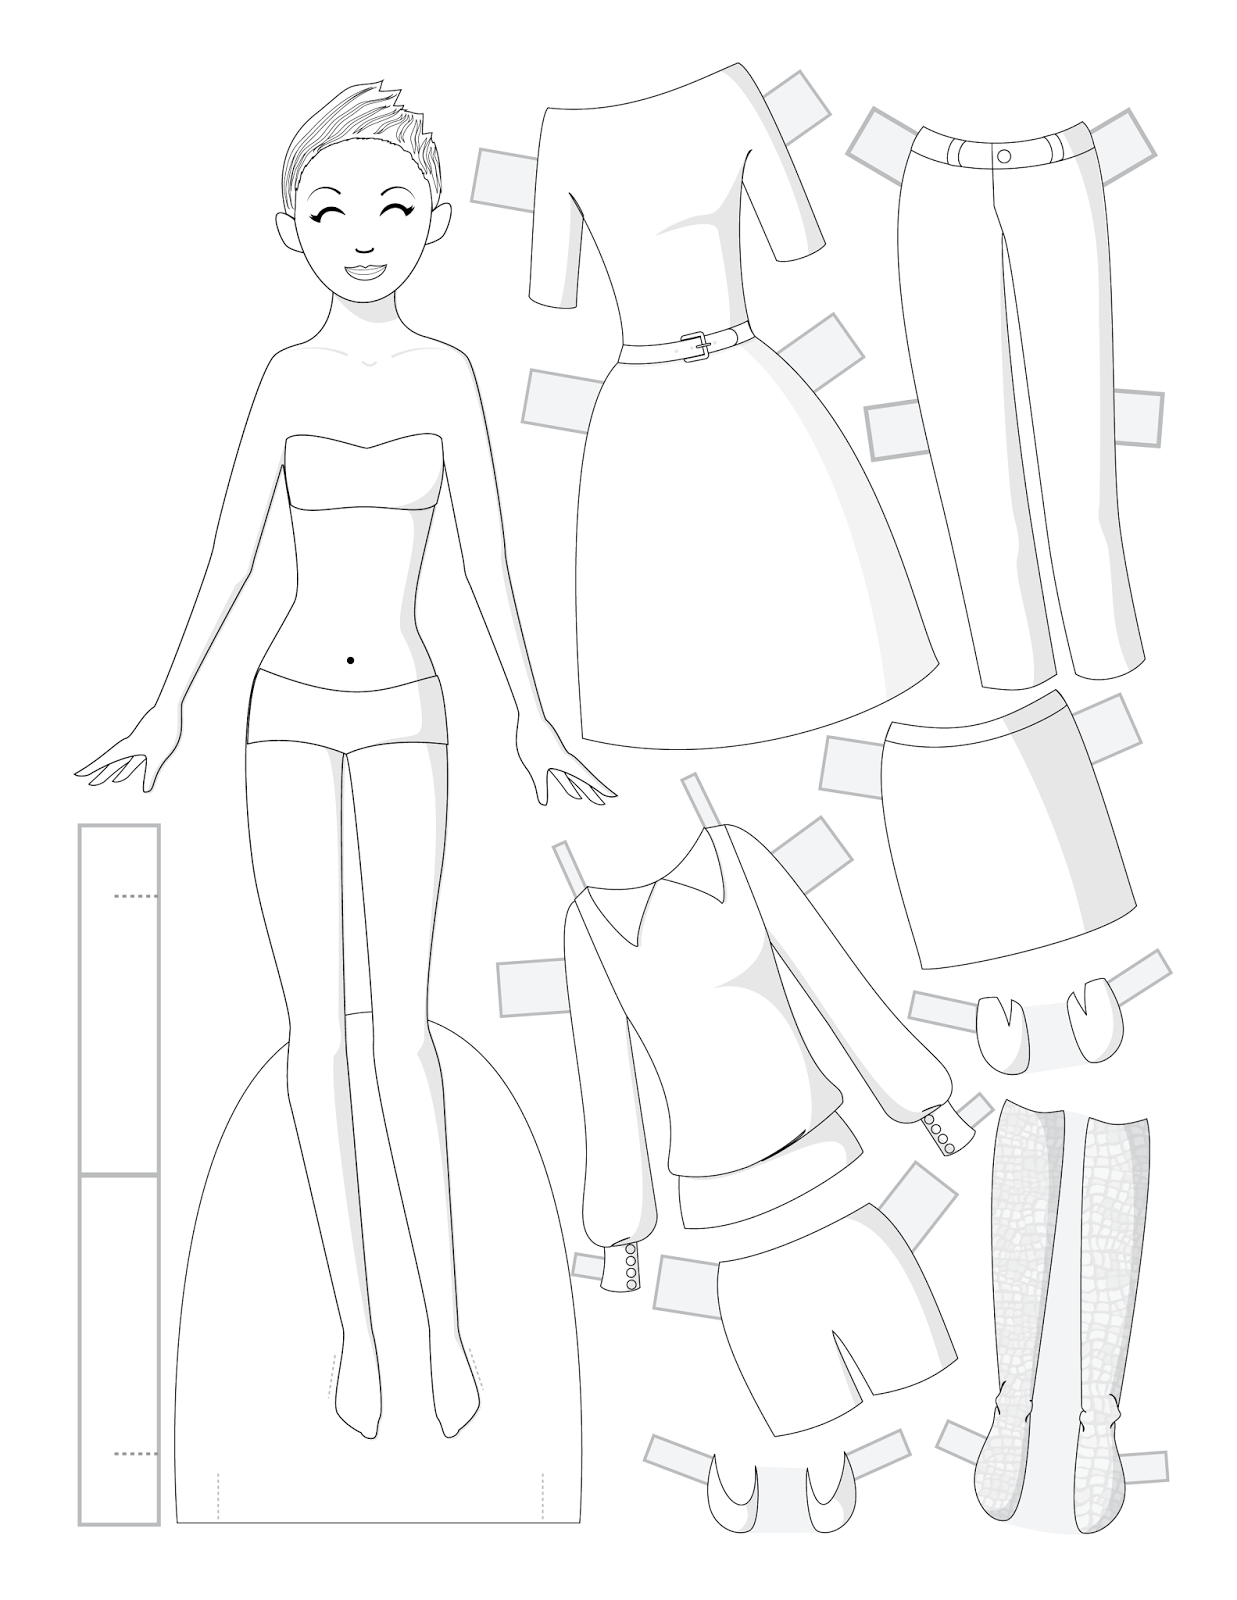
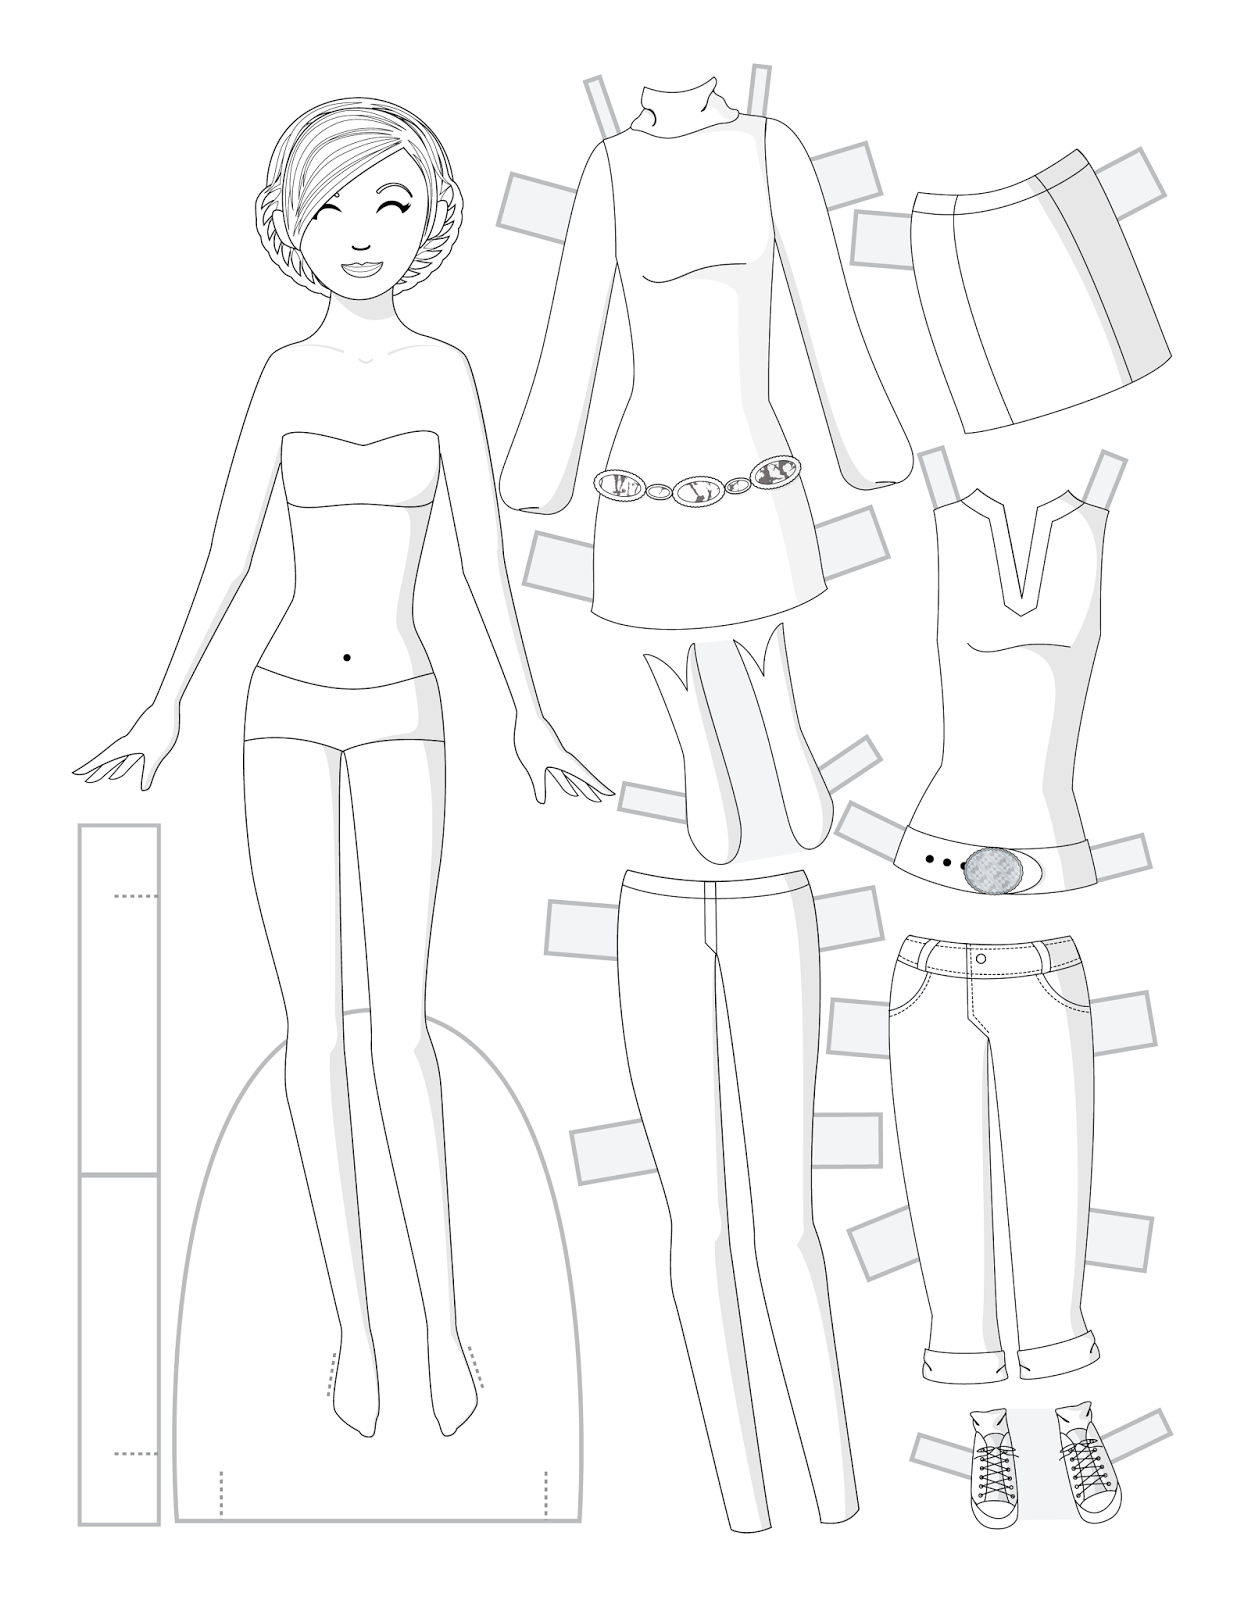
Take a look at all of the beautiful color around you and think about using it Wednesday!  I'll be posting another Kawaii Kids doll and maybe another black & white set on Friday. 


Friday, March 7, 2014

Fashion Friday - Black & White: Set 1

Today I'm doing something a little different again.  I'm posting a batch of black & white fashion dolls to color.  There's no pdf -- just download the images.  I've been thinking about doing this for a while and someone sent me a very nice request for it, so I thought, why not?!  I'll post a few batches of these over the upcoming weeks.  Have fun coloring!

Edit: I'm adding a PDF to this post and I'll include PDFs from now on.  I've had a few requests and it makes sense to have a PDF.  Enjoy coloring the dolls!

Download the Black and White Fashion Dolls PDF here! 


Wednesday, March 5, 2014

Kawaii Wednesdays - School Uniforms

I love making paper dolls and I love hearing from people who enjoy my dolls.  A few days ago I received an email from a teacher at a small school.  She has several students who finish their work early & wanted to color my Kawaii Kids dolls from December.  I loved the idea and offered to make some dolls with input from her students.

And that's how Kawaii Wednesdays was born.  She sent me several student requests and I'll be posting them on Wednesdays until I finish the list of requests.  Unless I really love posting three days a week and then, well, I may keep making them!

She also requested some Fashion Friday dolls in black & white for coloring.  That's an idea I've been thinking about anyway, so I'd like to give that a try.  I guess that means the blog might be a bit monotone for a little while!!

Here's the first Kawaii Kids Wednesday doll -- School Uniforms.

Edit: After receiving a few requests, I'm adding a PDF of this doll and I'll include PDFs of the Kawaii dolls from now on! Enjoy :)

Download Kawaii Kids - School Uniforms PDF here

Monday, March 3, 2014

Paper Doll Commission

Instead of a lesson this week, I want to share a project with you.

At the beginning of the year, I wrote a post about all of the things I want to accomplish this year & some of the things I'll need to set aside temporarily.  One of the things I decided to set aside were the PaperJane dolls.  They weren't as popular as I had hoped, and were a bit of a pain to make.  I love those dolls and want to go back to them, but I have bigger priorities this year.

And then I got the most random email ever!

I was contacted in January by the Fort Worth Country Day School in Fort Worth, Texas.  They are celebrating their 50th anniversary and wanted a unique invitation for their party: a paper doll that showed the different eras of the school's history.  I loved the idea!

They wanted a boy & a girl to represent the school and wanted it based on the PaperJanes.  Because that's just the way fate works!! I developed a companion for Jane (I'm calling him Jack) and a wardrobe for them.


First, I sketched some concepts and we agreed on a pose for the girl.  Above are some low-res sketches of the concepts.  From there, I worked in Illustrator to develop the doll.


Here's the next-to-last (low resolution) version.  We made a couple of minor changes, but this is essentially the doll.  For each of the dolls, there's (in order): a 1960's letter jacket & cheerleader, a 1970's guy & girl, a 1980's preppy guy and workout girl, a 1990s prom couple, graduation, homecoming king & queen, and the school uniforms.  I even replicated their plaid in Illustrator!

And this is the final invitation.  It's a poster that opens up with various phases as you open it, and then, when fully opened, there's the doll!  There were a few minor changes made that I think are great, like adding a logo the to boy's undershirt.  We went with a one-piece plaid suit for the girl, and, again I think it was the right choice. 

This was a wonderful commission and I'm so glad it came my way.  I plan on framing this & hanging it in my studio -- that's how much I love it!

When I feel up to working with the PaperJanes again, I'll be adding Jack to compliment Jane and some of these outfits may show up in some variation.

So thanks again to the Fort Worth Country School for such a unique opportunity & I hope all of you out in paperdoll fandom like this too!