Friday, February 26, 2016

Fashion Friday - Zookeeper Accessories

I don't have a paper doll today.  Instead, I have a sheet of accessories to go with last week's zookeeper/paleontologist/explorer paper doll!

I've been thinking more & more about how to increase the variety of paper doll sets without completely going crazy in the process.  Maybe sheets with dolls and separate sheets with wardrobes? I dunno yet.... I want to create a preteen to go with the teen/adult and toddler body types, so that's really the next big thing on the list.


I couldn't decide exactly what to include here at first.  I really wanted a lion, so that needed to fit.  And I tried to fit in a monkey last week, so I really wanted that.  And then the suggestion of a paleontologist  (thanks, boots!!), I wanted to include fossils and tools. And finally, I had the map from a previous project, so I added that for good measure.

Not only would this sheet work well with Tabitha, I have a toddler from last summer who could easily be a younger version of Tabitha -- Sparrow!

Friday, February 19, 2016

Fashion Friday - Tabitha

Someone suggested I make a zookeeper.  So I did.

I can't remember who or when (I know it was recent).  Maybe I'll claim mommy-nesia on that! Although with my boys quickly becoming independent and awesome little people, I can't claim mothering-induced amnesia for much longer....


I  went with a simple khaki set here for more flexibility. She can be an awesome zoopkeeper or a desert explorer or whatever.  Honestly, I wanted to add a baby monkey SO much but nothing I drew looked right.  Some other time maybe.... And I called her Tabitha because apparently that means "gazelle".

Probably won't have anything up for Monday.  My oldest had school vacation this week and we've got a bunch of awesomeness planned.  Next Friday, though, I'll have another doll ready to go!

Monday, February 15, 2016

Gravity Falls - Mabel Paper Doll

Today is a surprise fan art kind of day!


We watch a lot of cartoons in my house.  A lot.  We've all come to love Gravity Falls on Disney XD and the series finale is tonight.  For anyone who isn't familiar, Gravity Falls is about a set of twins -- Dipper and Mabel -- who spend the summer with their great uncle ("Grunkle") Stan and help out in his roadside attraction/kitsch shop.  Strange and paranormal things happen in Gravity Falls. There are series-long mysteries, jokes, and codes to crack.  It's really an amazing cartoon.

I would love to create a paper doll for every character on the show.  Since I had about 3 days to create this from inception to completion, that didn't happen.  I stuck with Mabel because I love Mabel!

I started with a sketch of Mabel.  She is a nearly 12 year old girl who loves "girly" things but she's also smart, fearless, selfless, and has a grappling hook.  She's a great role model for kids: she's a good friend, a good sister, and true to herself. And she has a best friend, a pig named Waddles.

One thing I love about modern cartoons is the flexibility that computers have given animators.  Mabel is able to have a different sweater in every episode -- something that would be much more challenging in traditional animation.  For the sake of time, I didn't create every sweater or costume for the series.  Mabel has something like 70 wardrobe changes in the series!!


The first sketch is for the stock sweater & skirt wardrobe set.  The middle is a formal dress from a party episode and the outfit on the right is a Summerween costume.  I'd like to create all of these at some point in the future.

Right-click to save and print this image.

Feel free to print & play with this doll.  It's fan art so personal use only, etc, etc.... My cut out Mable will be watching the series finale tonight.  #TakeBackTheFalls!


Friday, February 12, 2016

Toddler Fashion Friday - Charity

Happy Valentine's Day!  My oldest son is having his first school Valentine's Day party and he's really excited about it.  In his computer class they made little illustrations with a message.  His said, "My mom is special to me because we play legos."  How sweet is that?!

I wasn't sure if I'd do a Valentine's paper doll.  I really had planned on making a zookeeper -- probably for next week.  I have a few projects I'm trying to wrap up and then I'll focus on the blog a little bit more. There are a couple of things I'd like to do with this once I find a little time to devote to it.....


Today's toddler is based on Cara. The heart pattern was one of my first forays into creating patterns.  It's taken a while to master, but creating patterns is one of my favorite parts of working in Illustrator.  Anyway, Charity and Cara can have a little mommy-daughter or big sister-little sister Valentine's Day date!


Friday, February 5, 2016

Fashion Friday - Gayle

This weekend, there's a big football game.  Technically, I can't call it what it is due to copyright, etc, etc, so I won't.  I don't particularly care for football.  First of all, I don't understand it at all.  Secondly, it bores me to no end and there are SO many more ways I'd rather spend my time.

However, the gentlemen I share my home with LOVE football.  My oldest son has taken a particular interest and loves the Denver Broncos (even though we live deep in Patriots country). I have never seen such pure joy as the moment he realized his team was going on to the biggest game of the year.

I decided to make a football themed paper doll for this week.  I went back & forth a bit about whether to do man, woman, or toddler set.  I settled on a woman.  There are a lot of female fans of the game and I wanted to represent that.  Maybe I'll expand this and make a whole set.


It's the 50th anniversary game this weekend, so I included a jersey to commemorate that.  I went with Broncos colors in honor of my little boy's love of the team.  I went with a general football pattern instead of specific logos.

Anyway, I'll be cheering for the Broncos while Noah sleeps -- we'll record the big game so he doesn't miss out!

Monday, February 1, 2016

How to Create a Pattern using ArtRage and Illustrator

Happy February!  First of all, thank you for everyone who read this little blog in January.  It was my most popular month to date and I love the attention :) I started this blog as a way to fill the time in my day as a stay-at-home mom of two little ones.  Now, I use it as a way to connect with other people who love art and paper dolls as much as I do, as well as a way to keep myself motivated to learn & create.  This is the longest running art project I've ever undertaken -- so thank you for the encouragement and I'll continue to make the best art I can!

And the art today is going to be fun! We're going to use ArtRage and Illustrator to create a pattern like the one I used on the reindeer Santa paper dolls.

Primarily, I use Illustrator to create the paper dolls on this site.  It's no secret how much I love that program.  Occasionally, I work in Photoshop, another program I love for entirely different reasons.  Even more rarely, I work with ArtRage.  I had a brief tutorial way back in 2013 about ArtRage. I like the program, especially for special effects that I can't achieve in Photoshop, but I frequently forget I even have that.  I should make it a goal to use it more this year.  ArtRage is available for virtually every device and the full version is under $50 (there's also a free demo).  Well worth it.

(Just so you all know: I have no affiliation with ArtRage and no compensation.  I just like it and want to share that information.)

To begin, open ArtRage.

I want to use the Paint Symmetry tool today and I find the best way to do that is to start with a square canvas.  Go to File > New Painting (or Ctrl-N).  Make your canvas any square size.  The default resolution is 72dpi, which is fine for this application.  I plan on making this into a vector in Illustrator.  If you plan on using this graphic in Photoshop or printing it, set the dpi to 300.

To open the Paint Symmetry tool, go to Tools > Paint Symmetry and select Paint Symmetry.  Your screen will look like the image above.  The default is four segments.  To add more segments, click on the center wheel and choose Set Number of Segments.  I chose 8.

I'm going to use the ink pen (circled on the left) and black (circled on the right).  The pen creates a nice, smooth line which is what I'm looking for.  You can adjust the size of the pen by using the percentage section of the tool wheel.  I chose black specifically because I'll be auto-tracing this in Illustrator and this give s me the best results.

This is the fun part -- take your pen and draw.  I'm drawing on my Surface, but you could do this with a mouse, too.  It's tougher but can be done.


It's hard to convey in one image and words what happens here.  I draw in one segment, and magically, I end up with 8 segments! You can be as complicated as you like with this.  It has a wobbly, hand-drawn look because, well, it's a hand-drawn.

Once you create a design that you like, you'll need to save it.  ArtRage uses a native file type (.ptg) which is fine in ArtRage, but I need this to be something more flexible. To save your image, go to File > Export Image File.  You'll get a pop-up with several options.  The default is a PNG file and that's what I'll use here.

Next, open Illustrator and the PNG from ArtRage.

Click once on your image with the black arrow tool to select it.  Once you do this, the menu bar at the top with change and include image trace options.  Click on the Image Trace drop down menu (circled) or choose the Image Trace icon (circled in the next image).

In this image, I have the Image Trace menu open.  The icon for this is item 1.  Select the Black and White option (step 2).  Click on the Advanced arrow (step 3) and check Ignore White (step 4).  Click Trace (step 5).  I wish Ignore White was the default setting but it's easy enough to track down.

With your tracing still selected, to to the top menu and choose Expand (circled).  This will give you a vector image. to play around with.

The last part of this is created a seamless pattern.  The current version of Illustrator makes this very easy with its pattern generator.  I can go over how to do this with older versions if there's a need or interest.


To create a pattern in Illustrator CC, go to Object > Pattern > Make.  This will tile your image using default settings.  The default in this case is a grid pattern.  Use the Tile Type and Offset menus to customize your pattern.


And here's one pattern option.  I took the original tile and rotated it so that it was a diamond instead of a square and tiles it using the Tile by Column option.  The pattern generator in Illustrator is great and I could just create patterns all day every day.

Auto-trace is handy, too, especially for hand-drawn art.  The more clear and clean the original art, the better the auto-trace.  That's one reason why I like drawing in Photoshop or ArtRage -- it feels like drawing on paper but the lines are more precise and easier for Illustrator to trace.

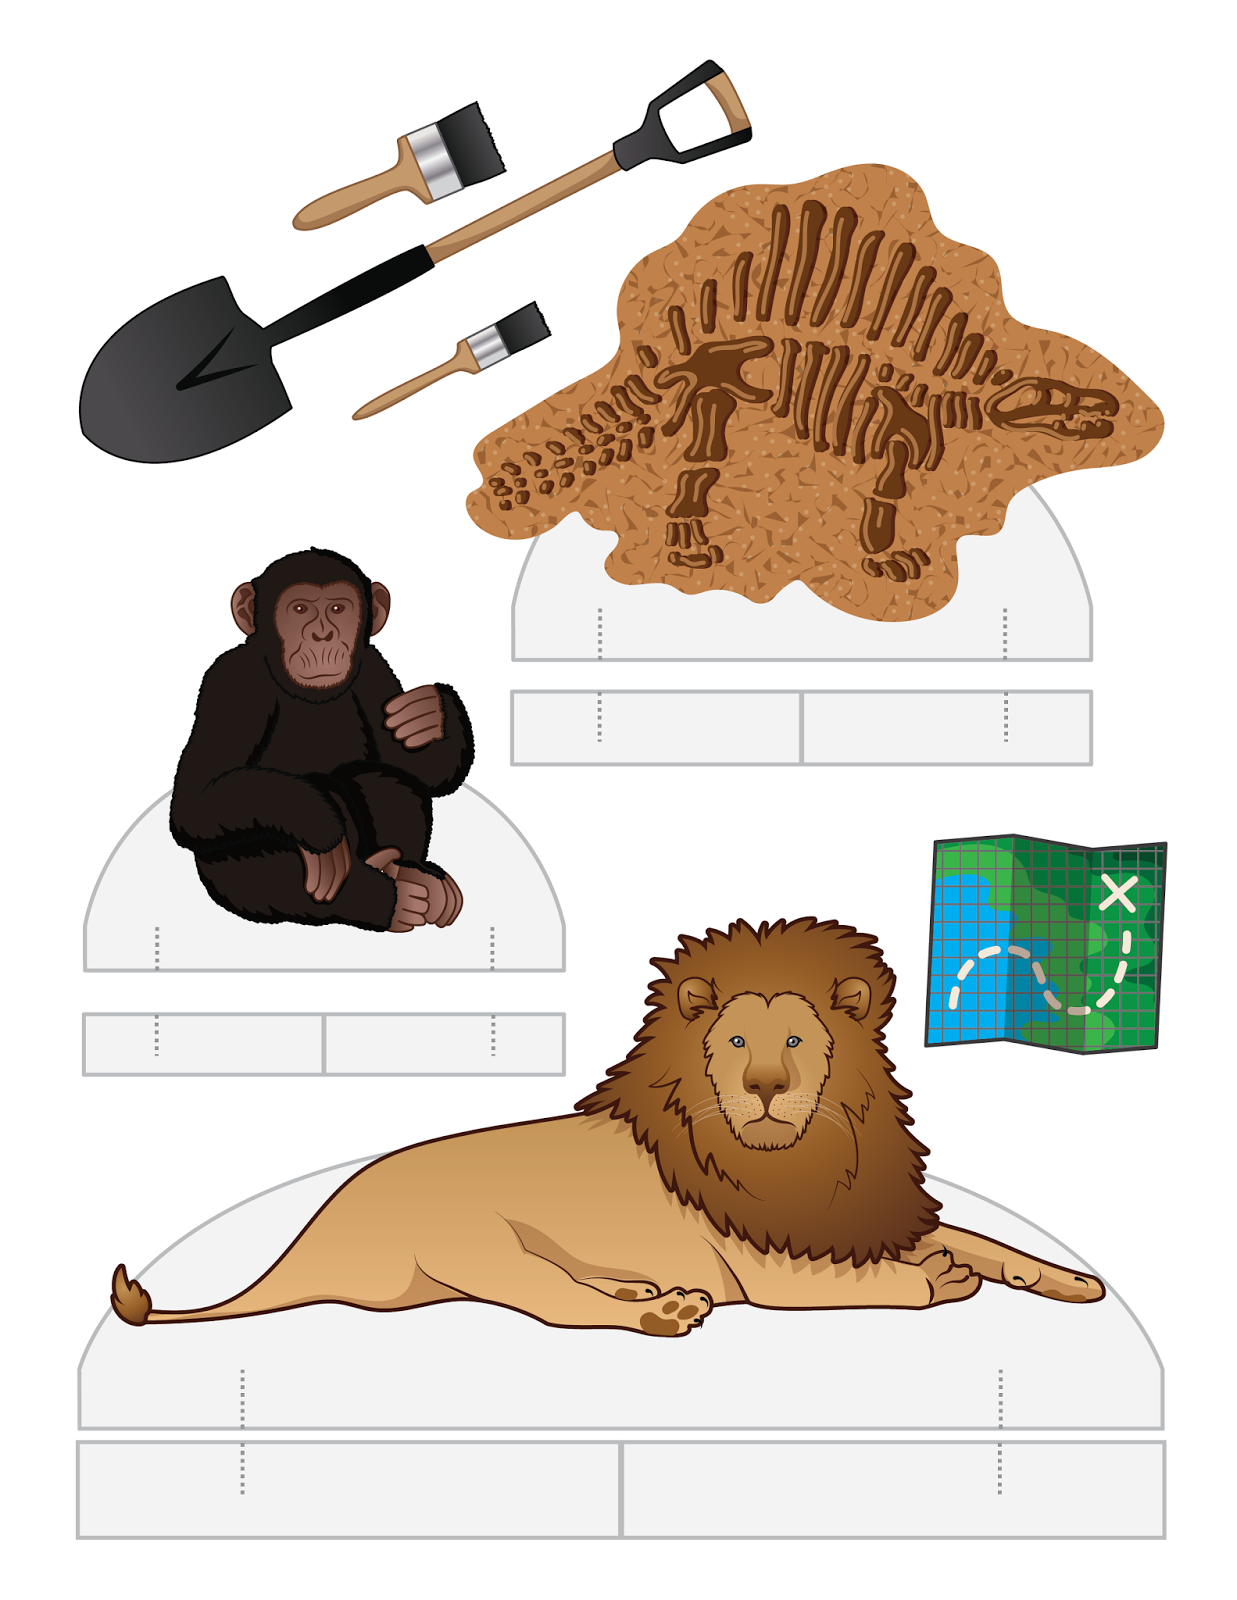
Look for another paper doll on Friday.  I sort of accidentally started a careers series.  If you have a career you'd like to see, just let me know!