Friday, October 25, 2013

Spooky Friday Papercrafts

Today is NOT a Fashion Friday post!

I love Halloween, probably more than any other day of the year.  As a kid, I used to do a lot of paper crafts, not just paper dolls.  I loved jointed cardboard dolls and I figured out how to make them with construction paper and brass fasteners (like these).  A couple of years ago, I developed a Frankenstein's monster jointed doll.  This year, I added a mummy and a witch!

Today's download features all three of these as one page pdf files!


Download Frank pdf here

Download Mummy pdf here
(The Mummy file is a little slow to load.)


The witch preview is a little weird but the pdf is fine.  While working on it, I decided she needed a skirt, too, so there are two versions of the witch.

As with my paper dolls, I suggest you print these on cardstock.  I prefer matte photo paper -- it's easy to get at Staples, maybe even Target.  Amazon carries it, too.  And the brass fasteners can be found in similar places, too.

I'm hoping to print & cut these out myself.  If I do, I'll post pictures.  Til then, have fun with these!


Monday, October 21, 2013

Felt Paper Dolls - Part 1

My oldest son (he's almost 4) has started to take an interest in arts & crafts.  Over the summer and early fall, we did a bunch of crafts.  I had a bunch of felt from one of these, so I made a leaf garland like the ones shown here.

My awesome garland and pellet stove.

A close-up of my garland.

So that whole garland took one sheet each of about 8 different felt colors.  I bought a HUGE mix pack of felt and I have tons left over.

What's that got to do with paper dolls?

FELT DOLLS! 

I was never "crafty".  I fancied myself a "fine" artist in the most snobby way possible.  Felt is a new, awesome media and I love it.  I found some felt doll tutorials here and here that looked fun.  Both of those are a bit sewing intensive and, I'll be honest, sewing isn't my thing.  I've wanted to learn how to sew for 20+ years and it just hasn't happened yet.  I own a sewing machine.  I can hem stuff.  And that is about it! Someday....!!

So my goal was to create a sew-free felt paper doll.  We're going to create templates and cut a basic outfit today.  Next week we'll look into adding details and fancy stuff to our basic felt shapes.

Materials:
Thick paper or lightweight cardboard (manilla folders would work great!)
Pencil and Eraser
Felt
Straight pins/ dressmakers pins (optional)
Scissors (the sharper, the better)

I'm using the kawaii girl doll from last week as a template.  Whatever doll you choose to create, keep it simple.  Felt doesn't cut as smoothly as paper, so simple lines are best.


(Forgive the weird shadows in almost all of these pictures!!)  I have a whole bunch of this medium grey cardstock so I'm using that to make my templates.  Trace your paper doll and cut it out.  This will become your doll body template.

To create some of the basic clothing templates, I started cutting up the paper doll and traced parts of it.  Legs became pants then I cut the undies and traced those.  I cut the hands and head off the top, traced it for a long sleeved shirt, then cut the sleeves off to make a short sleeved shirt.  It was pretty straightforward.


Here are all of my templates cut out.  I wanted to keep everything simple.  If I want to make a sweater set, for example, I'll just trace & cut the long sleeved shirt.  If I want capri pants, I'' trace the pants template and shorten them, etc.  I made some hair templates, a couple of skirts, a couple of shirts, and the pieces to make a princess or wedding dress.


This random pile of stuff is what I'll be working with and then some.  I have a pile of felt, yarn, beans, needle & thread, patches, etc.  Not pictured is some ribbon & embroidery floss.  My plan is to make simple clothing and embellish the heck out of it.


I realized with my previous projects that I really didn't want to make the felt if I could help it, so I pinned the templates to the felt.  You certainly don't have to do it this way.  A marker or chalk would work fine, too.  When cutting, be careful not to pole yourself!


This is the template and doll.  I marked my templates with what they were (skirt, shoes, etc) just in case I forgot!


And it's starting to come together!  Here's the template, hair, dress, shoes, and felt doll.  Felt is great.  It just sticks together.  No tabs, no fasteners, no velcro - nothing! It just sticks.

This is a good stopping point for today.  Next week I'll have more outfits ready to go following this technique.  I'll show you how to add a face and some details.  A needle & thread may be required!  And track down a glue gun or tacky glue if you want to avoid sewing altogether.

Until then, new doll on Friday and more kawaii suggestions for December are welcome.  Have fun making you felt doll!


Friday, October 18, 2013

Fashion Friday - Annabelle

I've mentioned before that I live in New England.  I've probably also mentioned that my family has been in New England since it was still part of old England!  Our roots here run very, very deep and one thing that all of the various branches of my family tree have tried at one point or another is farming.  I'm only the second generation of my family not to have lived on a farm at some point in my life.  Maybe I'll retire & farm.

Anyway, I feel very tied to the changing seasons here.  In New England, autumn means harvest time and there's plenty of it!  Last weekend I went apple picking with my husband, boys, and my sister-in-law.  It was a blast -- and I'm still trying to cook/freeze/etc all the apples!  So I've had apples on the brain.

And that's how I got Annabelle.  This is my apple-themed farm girl.  I made a super quick apple pattern from a stock apple image I found online and used the colors from that image throughout.  I like this doll quite a bit, and I hope you do too.  Enjoy!


Download Fashion Friday - Annabelle pdf here

Monday, October 14, 2013

Kawaii Doll

This was a tough one!  I have been sketching for days.... I thought a simplified form would be easy.  It wasn't!  I'm not totally happy with my dolls, but I'm going to go with it.  I think once I start designing outfits & themes, I'll like the dolls more.

So here's the process.

First, I sketched out a ton of images.  This is just the one sheet that survived!


Most of these scribbles could easily become a doll (and just might).  None of them were quite what I was looking for, though.

 So I kept drawing.
 It was getting closer....
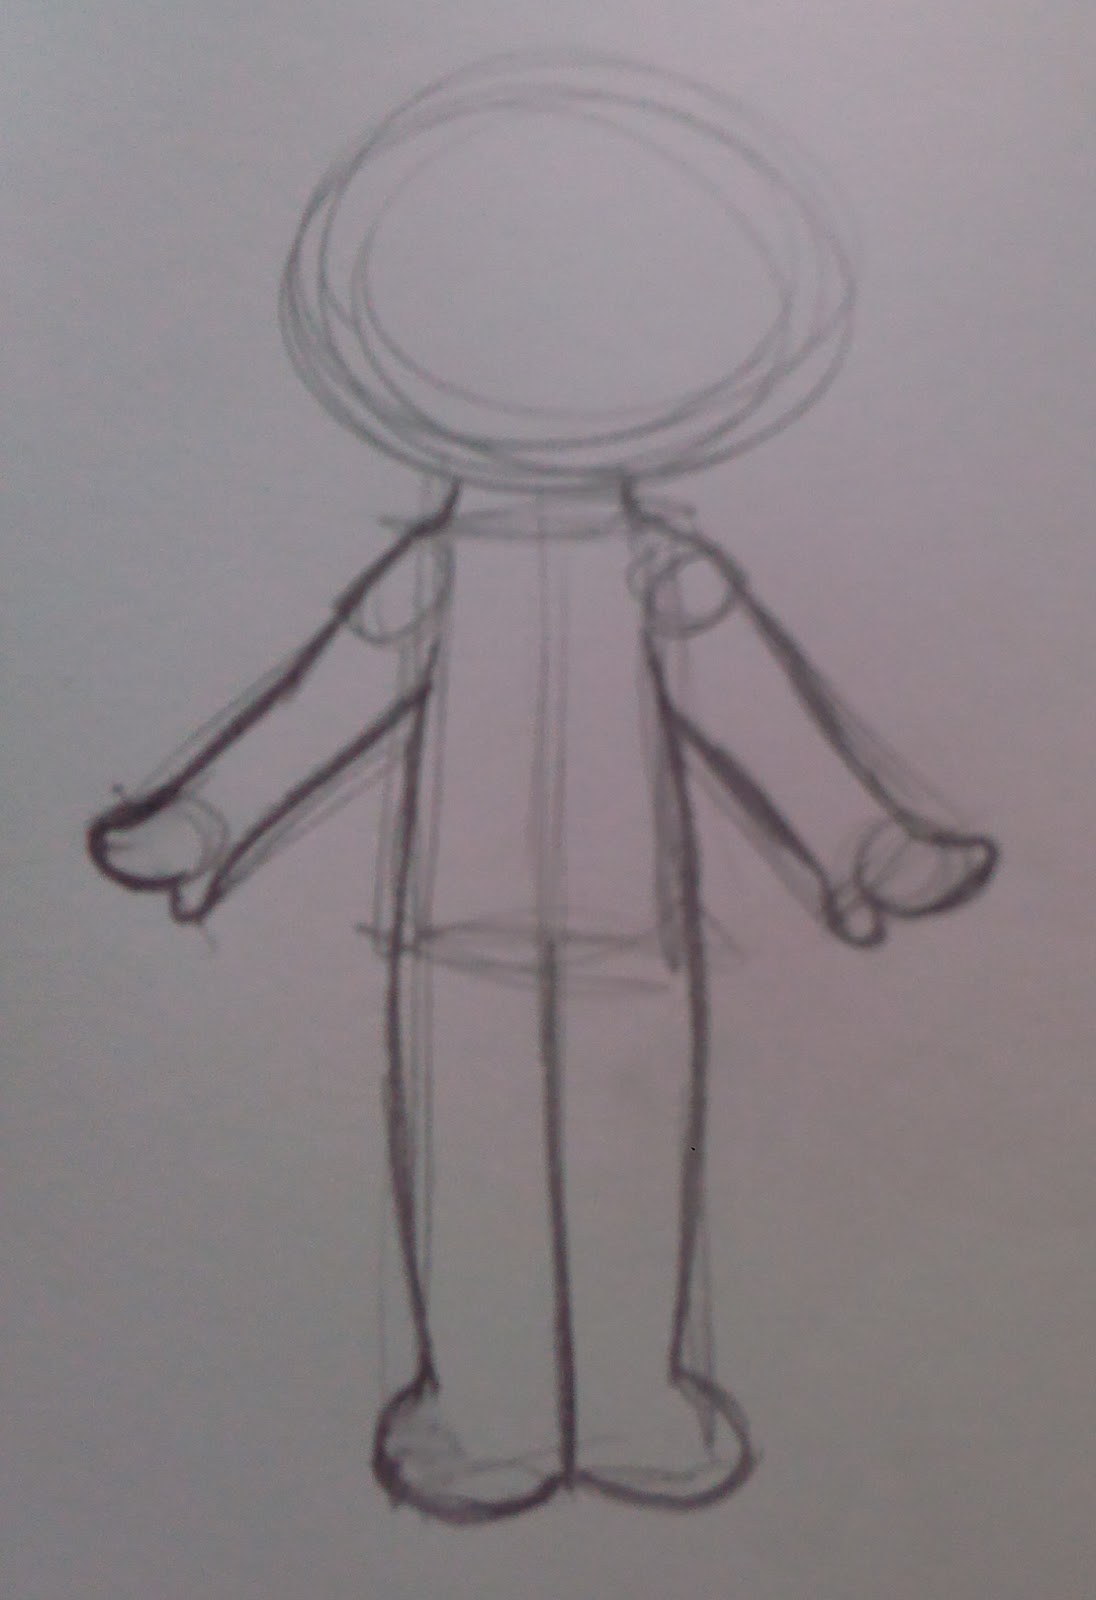
 I initially tried drawing in a style that didn't feel like "me".
 The more I tried to draw like myself, and not someone else, the more I like it.
 Almost there....
That's the final scribble.  I took it into Illustrator and created a final image:

I wanted to have a boy and girl doll.  I was able to do that from the one sketch.  To create these dolls in Illustrator,  I drew the one side of the body I liked (the left) and reflected it.  It took a little tweaking and refining, but I got the two sides to line up.  To get the heavy outline, I combined the head & body shapes using the Pathfinder tool and then outlined the final shape with a heavier stroke.

Feel free to download & play around with those dolls.  My plan is to make 30 one-page theme dolls.  All outfits will fit all dolls, but each sheet will have a unique doll & outfit set.

I know this isn't as thorough a tutorial as I usually like to write.  I really struggled with this self-imposed assignment.  I'm still taking theme requests, so let me know your thoughts!


Friday, October 11, 2013

Fashion Friday - Janet

Today's doll isn't terribly exciting.  It's really a proof of concept for me.  I've been experimenting with Illustrator a lot (still!!) and I developed these ruffle brushes yesterday.  I thought this would be a good way to test them out.  I'm still a bit of a novice at making custom brushes, and every experiment helps.

Monday we'll go over the development of my kawaii paper doll & come up with a few more theme ideas for December.

Til then, enjoy the doll!


(Fixed link!!)

Tuesday, October 8, 2013

Kawaii! (What the heck is kawaii?!)

As some of you may know, there are some times of the year that crazy for me.  December is one of those times.  My husband & son have December birthdays, and we see my mother's family in NH, my father's family in VT, and my in-laws at Christmas, as well as celebrating our own Christmas with the kids.  And we have a New Year's party with awesome friends every year.  Last December, I queued up a whole month of posts & it worked out really well so I'm planning ahead to do the same thing this year.

What's that have to do with kawaii?!

I'm testing out a 30 Theme Challenge! So here's the deal: over the next couple of weeks, I'm going to develop a kawaii style paper doll set.  I'll come up with 30 themes and draw black & white, one page kawaii dolls that I'll post every day for the month of December.  The really fun part is that I want suggestions!  I have some ideas but no where near 30!

So this week I'm going to go over what kawaii is and next week will be the kawaii doll step-by-step.

Kawaii, as defined by Wikipedia, is a Japanese term that describes "cuteness".  It's a very prominent aesthetic in Japan, and has been exported all over the world.  Kawaii covers a very broad spectrum of styles.  For our purposes, I'm looking at cute, stylized figures.  Small faces set on larger heads, squat proportions, etc. Hello Kitty is an example that I think most people have seen.   Other examples I've found that I like:

Paper Glitter
I love everything that Linnette & her team create here.  She creates lovely little paper dolls.  I'm specifically not showing them here.  They are amazing, but I might be too strongly influenced by her work to come up with my own!!

Jerrod Maruyama
Jerrod has a deviantArt profile and website.  The images below are from his dA profile.  Check both out!


Michelle (mAi2x-chan)
Michelle has a dA profile as well as a website.   The images below are from her dA profile.


I'm still learning about kawaii myself, I'll admit.  These are examples that I find appealing.  Do a search online and find the style that speaks to you! (My younger readers are probably WAY more familiar with this than I am!!)

To create my doll, I plan on using a few resources.  First, CreativeBloq has a great guide that I plan to follow.    Osi (sugarlette on dA) has a nice guide to faces I'll be looking at.  Anyway, next week will be a walkthrough of how I use these resources to come up with my own kawaii style doll.  Making something simple and clean is MUCH harder for me, so this should be an interesting challenge!

Also, add any themes that you want to see in the 30 Theme Challenge in the comments.  I'll take all the ideas I can get!

Friday, October 4, 2013

Fashion Friday - Megan

Today's doll is another commemorative one!  Last year, my husband & I celebrated our 5th wedding anniversary.  Ironically, on the same day, one of my close high school friends got married.  So as we celebrate our 6th anniversary, she's enjoying her 1st this weekend.

I tried to be as faithful as possible to her lovely dress.  I think it's pretty close.  Her groom has a more generic suit because I couldn't see a good picture of it.  They're a cute, tanned, sun-loving Florida couple :)

So this doll is for you, Megan!  Happy anniversary!