Pages

Friday, February 28, 2025

Jester Paper Doll in Color

 This is going live a bit later than I would like. My week has been filled to the brim with kid stuff! Initially, I wanted to take about my layer management and how I use that to color, what my workflow is, etc, etc. Yeah, that didn't happen. In fact, I finished coloring and laying this out on Friday morning when I had every intention of having it ready to go last night. 

Having said all of that, it's finished and I wouldn't miss the "kid stuff" for the world!

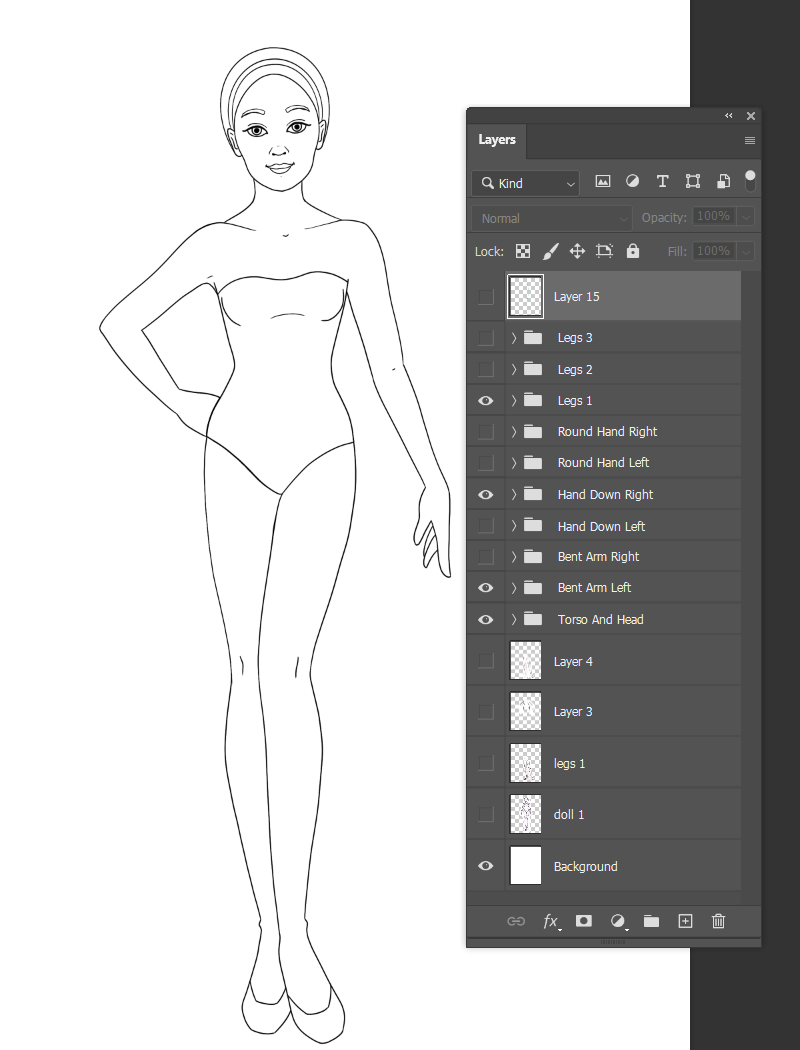
 Feel free to expand this image to full resolution, right-click to save and print.

I like the doll here quite a bit. Her face is slightly too wide and her eyes might be slightly too big but I can live with both of those things. I think I might just reuse the doll for a new page next week, maybe begin a series! That would be fun...

The colors overall look more dull than I would like. I'd like to go in and push up the saturation a bit to make it all more vivid. The dress is ok. Both the dress and the collar have a tentacle look to them - I need to figure out how to make pointy drapery thingies better. I had the same issue with my 2023 holiday card. Also, I completely hate the shorts. I didn't like them as I was drawing them, then I thought I could save them with some coloring trickery. Nope. Still hate. And that's ok. The beautiful thing about these one-page sets is that I can practice! Practice and failure are the keys to learning and growing.  I am, however, happy with the accidental movement in the torso of the doll due to my poorly drawn pattern! It gives her pose a twist. I do love a happy accident. 

If you have any random themes you'd like to see, just send them my way!


Friday, February 21, 2025

Using Paper Doll Templates

 In the post last week, I shared some paper doll templates I'm working on. It's something I've wanted to do for a while. Blank canvases and pages scare me a lot more than they used to and these seemed like a fun way to tackle that. 

This week, I put them to use! One I'm using for a project that isn't quite ready yet. The other is the paper doll at the end of the post. 

After sketching out all of the pose parts, I went into Procreate and lined each part individually. Each arm, leg, etc, was lined and placed on its own layer. It was tedious but didn't take nearly as long as I thought it would. Everything needed to align correctly so that I'd have a closed shape at the end of it. Once I lined the sketches, I popped them into Photoshop. 

I'm not a fan of Procreate's selection, move, and rotate tools. No matter what setting I use, the image ends up blurry. If I need to do any of that I either plan on re-drawing it or do it in Photoshop. That's what I did here - instead of re-drawing each arm, I flipped and aligned them in Photoshop.


Here are all of the various layer groups, named in a way that made sense to me. I ended up with 27 possible poses because the downward arm has two hand options. 

On the left, all of my layers turned on. On the right, lines are colored to show the separate layers.

I really, really wanted to draw a doll for this week but I had NO inspiration! I've been playing a lot of video games lately (mostly Animal Crossing). My husband just started playing a card game called Balatro and it looked kinda fun so I grabbed the mobile version for me and the kids to try on our phones.  

We're all addicted now. We talk about it at dinner. We discuss runs and strategies. It's an obsession! 


 These are my sons, sitting head to head playing and comparing strategies! 

And it occurred to me that jesters and jokers would make for a fun paper doll. I don't think I've done anything like that before! 

Here's my jester! As always, click on it for full resolution and right-click to save and print. Everything will layer over the dress except for the shorts. I'm not sure I'm crazy about those and may rework that before I color it.

Let me know what you think! I'm hoping to have the color version of this ready for next week...if I can pull myself away from the game....


Friday, February 14, 2025

Paper Doll Templates

I didn't get a chance to post last week. There were quite a few things on my desk that I needed to wrap up and appointments, etc. Life happens! Some of what I worked on was for the upcoming ballet issue of Paperdoll Review. I wasn't sure if I'd pull something together but I did and I'm rather happy with it. Look for it soon if you're a subscriber (and if you aren't, you can check that out here). 

Part of what I want to do this year is draw more. I often find myself paralyzed by the blank page! Starting can be a challenge. I'm fine once I get going but starting...well, it's not always easy. So I decided to look through my Pinterest and how-to books for some inspiration. I love paper doll how-to books! It's a quirky little subsection of my small (but growing!) collection of paper dolls.

One of those how-to books is Pat Stall's "Paper Doll Design". I've seen this in bits and pieces online and was THRILLED to get a copy! There are loads of black & white paper doll examples as well as lessons for creating paper dolls.

I'll dive more into this book at some point but there's one page I really want to look at - the Lazy Designer's Doll.   

I love the multiple pose possibilities and the great faces! This alone is a wonderful jumping off point for anyone who wants to try drawing paper dolls. I wanted something a bit more fashion model, however, so I kept searching.

This is more what I was thinking about. I grabbed this off of Pinterest - there are loads and loads of similar illustrations for inspiration.  

At this point, I grabbed my sketchbook at started drawing. Normally, I like to work from reference but this time, I just drew straight onto the page, partly to see if I still COULD!!

First, I drew a base doll. It's not overly complicated or detailed. This took maybe ten minutes.


Next, I placed tracing paper over the base doll and drew a second set of arms along with two more sets of legs. The trick with legs is that one is weight-bearing and the other is not. The weight-bearing leg (in this case, the one on the left/back on the base doll) needs to be fairly straight to indicate support. The other leg can be more flexible. 

I scanned in both my base doll and my tracing paper, then assembled them in Photoshop. If you don't have a scanner, a phone camera should work but there might be a bit of distortion. You could also do all of this on tracing paper or with a light table. If you choose to work these up digitally, pretty much any program would work. I have Photoshop so I used it.

With two sets of arms and three sets of legs, I made six different poses.


If I separate out the arms, I could have even more poses! 


I used one sheet of paper, one sheet of tracing paper, a pencil, scanner, and Photoshop to create 12 poses in less than an hour. The actual drawing time was maybe ten or fifteen minutes! Now, instead of having blank page panic, I have 12 poses to start from! There are many more possibilities, too, with more arm and leg poses, different hand positions, faces, etc. 

From here, I'll pop these into Procreate and see what I can come up with for dolls. Check in next week to see the refined templates!