Friday, March 31, 2017

Paper Doll Collaboration 2017 - Fashions from Space

It's the end of March so that means another installment of the paper doll collaboration project! I hope everyone is enjoying this because I know I am.... Coming up with a theme is often the most difficult part for me.  It's nice to have a year of themes ready to go, and create accordingly.


This month's theme is fashions from space - a theme I never thought about but was SO much fun! I love science and sci-fi, but it never occurred to me to make a sci-fi paper doll.  I kept this one simple. I keep thinking that once the year is over, I'll go back and color all of my contributions.

My outfit was inspired by mid 20th century sci-fit.  A while back I decided to read more "hard" sci-fi, like Asimov and Clarke.  Which I've been doing and rather enjoying it! So this owes a bit to that era.

Continue with the them at Paper Thin Personas, Pop Culture & Paper Dolls, and Miss Missy's Paper Dolls!

Tuesday, March 28, 2017

The Eclectic Wardrobe of Josephine - Page 10

Today is another Josephine post and I can't believe I'm already up to 10 pages! This is one of my favorite projects ever, I think, and I'll keep doing it as long as it's fun.

There are some things in this world that I love & would love to know more about.  Embroidery is one of them.  My grandmother liked to cross stitch before her sight weakened and I'm trying my hand at that right now.  It's not difficult, but it's a skill that takes time & patience.  Today's outfits are based on an embroidered jacket I found on Pinterest.

Right-click to download and print

Yeah, I know it's spring and this is more of a fall set.  The jacket I based this set on was these beautiful fall colors & I just loved it.  I'm really excited about how the applique embroidery came out! Once I drew it and colored it, I just fiddled with Photoshop layer styles til I liked it.

So this week is another collaboration week - come back Friday & check that out!!

Friday, March 24, 2017

Beautiful Angel - A Paper Doll Book

Remember that angel paper doll I made for December? Remember how I said I'd make it into a book? Well, I finally got around to it!

Here's the front cover. Order your copy here! 

For this project, I expanded on the December set by adding 6 new outfits exclusive to the book. This is also one of the largest books I've ever put together.  There's a total of 36 full-color wardrobe pages!


These are the six new costumes.  There isn't any real logic to them, much like the December project.  I wanted to expand upon some themes (historical, African textile) and try a couple of new things (flower, nature).

As a way of celebrating another paper doll book, ALL of my paper dolls on on sale right now! Beautiful Angel is 20% off and all other books are 15% off.  Good time to grab a book or three, if you ask me!!

Tuesday, March 21, 2017

The Eclectic Wardrobe of Josephine - Page 9

Finally. The calendar says it's spring.  The weather says it's spring.  My husband got me some gardening stuff for Christmas so I guess it's time to get those seeds started!

Today's Josephine is a pretty simple one.  I wanted to add some more neutral pieces to the ever-expanding wardrobe.  I'm also thinking I'll print some of these out & cut them for fun sometime soon. I don't do that nearly enough!

Right-click to download and print

The mustard-ish colored bases aren't exactly what I had in mind but it's ok.  I wanted bright but fairly neutral.  The skirt and pants should mix with a fair bit.  The tops maybe a little less....

Any suggestions for Josephine? In case it isn't apparent, I'm all over the place with this project.  It's an anything-goes, experimental set.  I'm not sure what's up next but it should be interesting!

Friday, March 17, 2017

Tween Fashion Friday - Darby

Happy St Patrick's Day! My mother's family is of Irish descent & I live north of Boston, so St Patrick's Day is definitely a thing around here.  My grandfather's family settled in northern Vermont during the 19th century Irish immigration.  We have very little actual ethnic heritage in any of my family but once a year, my mother and grandfather have corned beef & cabbage.

I actively avoid corned beef and cabbage.

Honestly, I can't even be in the house when they have it. I'm glad they love it and somehow feel connected to their heritage or whatever but really, I just can't.  I'll take my green beer and curried chips, thank you very much.


Today is the last of the green/Irish mix and match sets.  Not sure what I'll do next.  Maybe something bright and spring-ish....even though we have 20 inches of snow here. Again.  Anyway, enjoy your St Patrick's Day and hopefully (HOPEFULLY!!!!!!) spring is around the corner!

Tuesday, March 14, 2017

The Eclectic Wardrobe of Josephine - Page 8

I was feeling a bit inspired this weekend and made a new Josephine sheet.  My first thought was to make a sheet of basics to mix & match with the existing sheets, like jeans, etc.  And then I ended up on Pinterest.

In wandering around Pinterest, I found some gorgeous doll clothing.  I also happened to find two outfits by the same doll designer! (There's also a really interesting interview here with a photo of her super-tidy studio...and I am very envious.)  My dress for Josephine is very, very vaguely based on two outfits (here and here).  I loved the idea of a flower covered 18th century inspired gown and fitted jacket.

Right-click to download and print

I thought about coloring this set in soft pastels and then found bright patterns in my collection that I liked better.  The blue pattern and the pink-yellow pattern really had nothing in common, so I created the striped border in order to join them together.

The flowers were a problem.  I tried using photorealistic flowers and it looked wrong.  Then I tried flat shapes and that looked wrong.  So then I did what I should have done in the first place: I drew my own flowers!! And wouldn't you know it...they were exactly what I wanted.

To finish things off, I created a powdered wig and modified an earlier headwrap with some flowers.

The jacket fits over the dress and the bodice is meant to fit over the dress as well.  It was a tight fit getting everything on one sheet!

If you're looking for the Josephine doll, it's here. And you can find other wardrobe sheets with the "Josephine" tag.

Friday, March 10, 2017

Tween Fashion Friday - Delia

So....anyone else ready for spring? It's cold again here in New England. And dark. And the time change is Sunday. And I am utterly unmotivated to do much of anything.  I'm calling it End of Winter Malaise.  You would think that the middle of winter would be the worst.  Nope.  For me, it's usually March.

Today's paper doll was an attempt at motivation.  I decided to piggy-back off of Moira when I created this set.  I really liked the colors & patterns of Moira, so why not?!


I added a shamrock pattern to this set with colors that coordinate with Moira.  It's fun making these mini-series for more mix & match possibilities.

Hopefully I can snap out of this funk of mine and refocus.  Winter can't last forever!!

Tuesday, March 7, 2017

Tutorial: Creating the Josephine Pages with Clipping Masks in Photoshop

Sometimes, I don't feel like making stuff.  Really, it's just that simple.  It isn't that I don't love drawing & painting & such. I do.  But sometimes I need a break.

This weekend, my oldest son attended a birthday party and we had my younger son's birthday party at our house.  After that, I just wasn't feeling very creative. So I worked on genealogy research instead (which is loads of fun and I recommend it!) and today, I'm taking my mother to the doctor.  She broke her finger spectacularly and needed a crazy cast up to her elbow! Some weeks are busy around this house!

Today, instead of creating a page for Josephine, I want to share a little bit about how I make the Josephine pages.  The techniques here are also the techniques I used to create the Chanel paper doll, the Dupin paper doll, as well as the Akinye and Friends book and the Transformation Dress book.

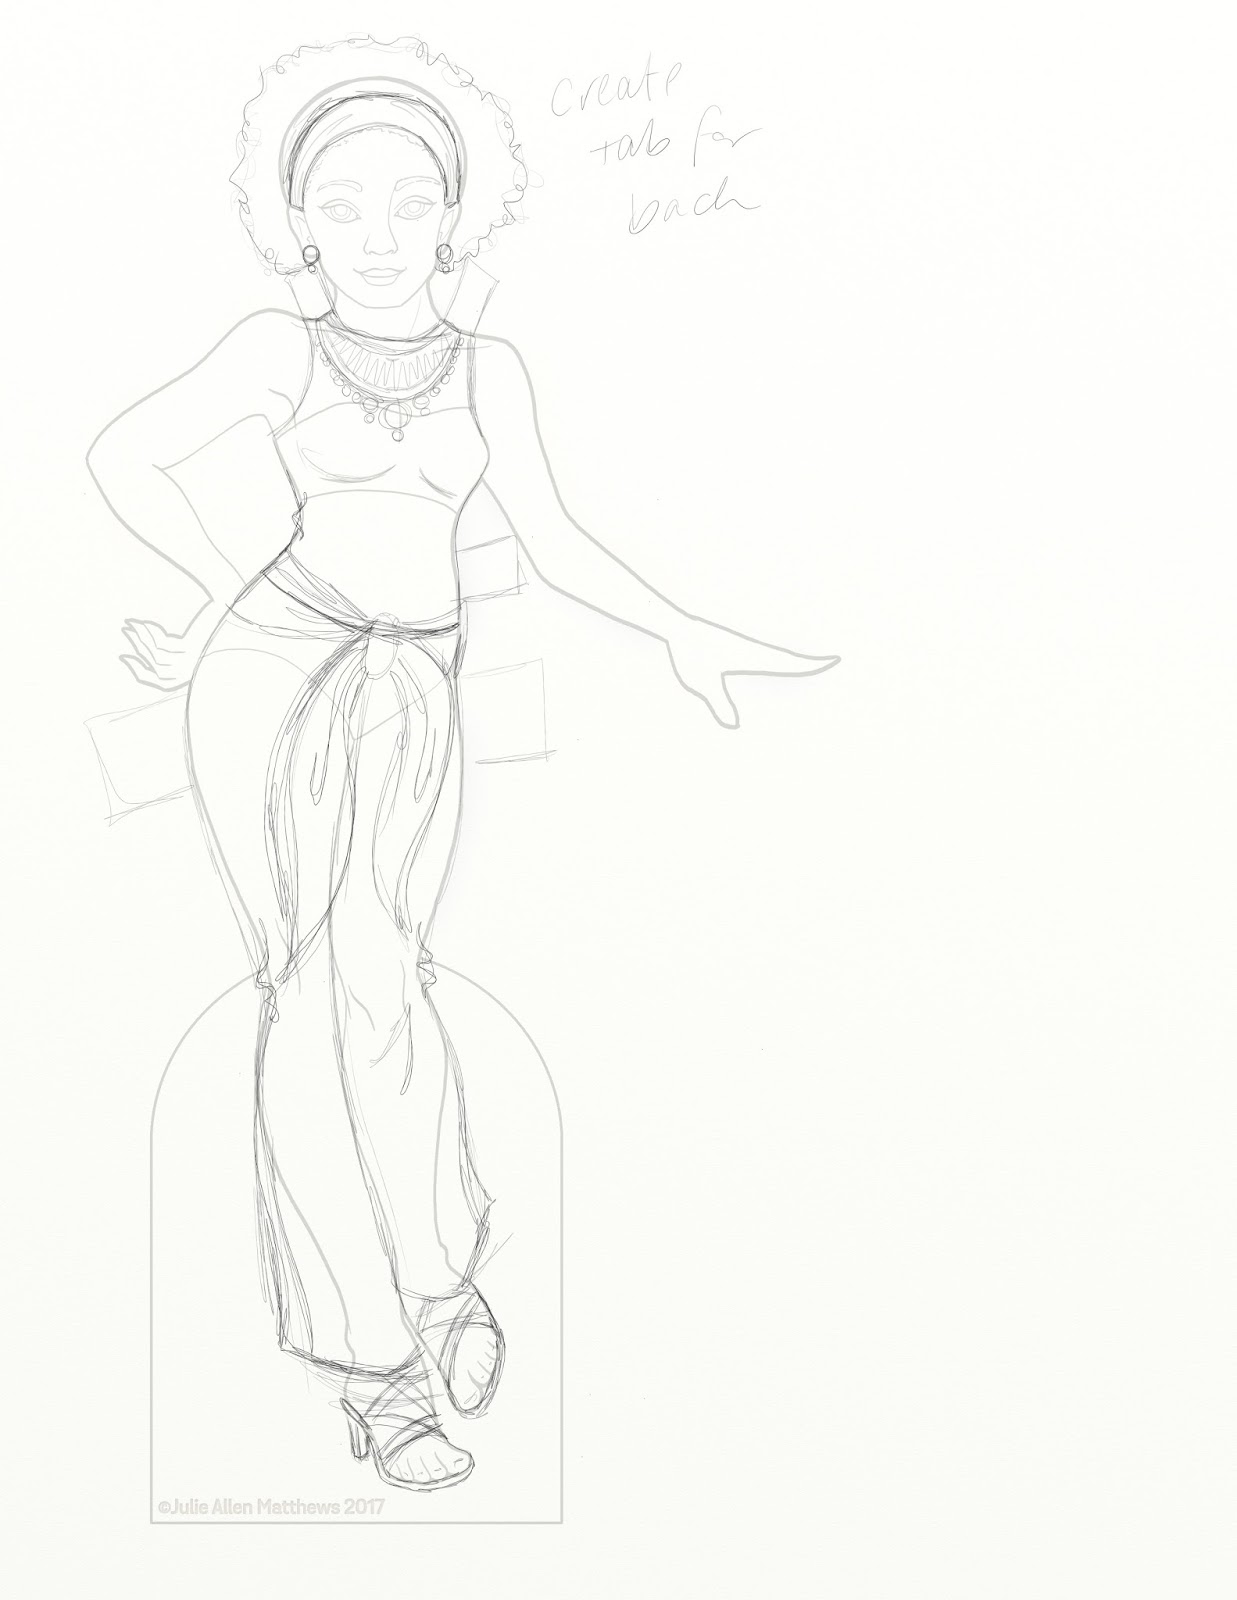
Like most of my projects, this one starts with a sketch.

This sketch is from page 2 of the Josephine series.  To create the outfits, I use a black & white template and I draw over it.  The template is the actual lines from the finalized paper doll.  I lower the opacity & draw over it in ArtRage.  I'm using ArtRage 4 and I use the pencil tool to sketch.  This could easily be done on paper or in another program. I just happen to like the natural feel of sketching in ArtRage -- it also has a TON of features that I'm still working on perfecting.

Anyway, once I'm finished scribbling, I export the file as a JPG and bring it into Photoshop to line and color it.  I could line it in ArtRage but I'm not thrilled with any of the three pen tools available.  Could just be inexperience on my part.

Here's what my file in Photoshop looks like.  I'm a big fan of folders! I like to keep things tidy and labeled as I work.  Here, I have just the lines for the pants, belt, and shoes.  Each of this is on its own layer.  I do not re-draw the feet - I duplicate those from the finalized, colored doll and add them in here.  I'm a big fan of working smarter not harder!!

To outline the clothing, I use a custom oval brush.  Its gives me a little bit more variability and hand-drawn feel while I draw on screen.  It isn't an essential thing, just a preference. Any hard brush would work fine here. Just make sure your lines create a closed shape or the next step won't work.

Once the clothing is outlined, I fill it with one color.  To do this, I select the outside of the lines, then right-click and then Select Inverse.  This selects the inside portion of the lines.  Why do it this way? If I tried to select the interior of my image, I would only select the empty sections around the lines and not the *true* interior space.  Next, with my image still selected, I go to Select, Modify, Contract and choose a pixel amount, usually 1 or 2.  Again, why? This way, the selection is inside the lines and there won't be any color bleeding outside the black lines.

This is the modified selection.  The (faint) dashed lines are the selected area, now inside of the black lines.  I know there are other methods for doing this (see: Paper Thin Personas.  She uses a great technique!) but this is the one I like for me.

With the selection still in place, I create a new layer UNDER the selection and use the Fill paint bucket to fill it in with a color.  Doesn't really matter what color.

Here's the color fill.  It's highlighted in the group on the right side and labeled Layer 8 for now.  Name it something meaningful! These layers easily get out of control!

Next, I use this color layer as a clipping mask layer for the pattern on the belt.  This isn't the only way to apply a pattern.  Sometimes, I use a pattern layer style to apply an all-over repeating pattern, such as the velvet texture on the steampunk outfit.  Sometimes, I also use multiple clipping masks and merge them into a single layer once they look right.  That's what I did with the strip pattern on this belt.  But for the purposes of this tutorial, I'm using a different pattern.

Open the image you want to clip and place it ABOVE the color layer. In my case, it covers the whole page.

The image you want to clip needs to be above the layer you are clipping it to.  Now, this didn't make sense to me for a while.  Then it occurred to me that it's a lot like a stencil: the interior of the stencil is the thing you're drawing and the outside is the paper you're ignoring.  It's like that.  The color layer below the pattern is the interior of a stencil.  Right-click on the pattern layer and select Create Clipping Mask.

The patterned paper is now only applied to the color layer below it.  However, if you look at the layer, the paper is still completely intact -- that's the little boundary squares on the work area.  What this means is you can still manipulate the pattern.  In this case, I would like a smaller pattern so I scale the clipping image.

This is the clipped pattern, scaled down and rotated slightly.  What's great about this is that the pattern and the color are still separate.  I can change the pattern at any time and I can still select the color layer separately, too.

Which is what I'll do next.

Use the Magic Wand tool to select the interior of the color layer.  Next, create a new layer to add the shadows.  I like to keep as much separated as possible because it allows for more flexibility.  I might paint the shadows in black and then change the blend mode until it looks right.  If I paint directly on the color layer, I lose that ability, so shadows go on their own layer.  The reason I SELECT the interior first is so that the shadows stay confined to the area I'm painting.  I don't need to go back and try to erase areas that I didn't want.

To paint the shadows, I use a large soft brush with a lowered opacity (maybe 10 or 15 to start) and gradually build up the shadows and opacity until it looks the way I want.  I do the same with the highlights.  Sometimes I use black and white for shadows and highlights.  Sometimes I don't. It depends on the image.  Keep in mind, too, that I'm using a pen and a tablet screen.  This is a bit harder with just a mouse.

Here's the finalized belt in the original pattern.  I have a color layer - that's the merged clipping mask layers I created to manipulate the pattern.  Merging the clipping mask layer with the color filled layer is totally optional.  Above that is the shadow layer and the highlight layer.  These three parts are the entire belt.

And that's basically it.  I color each section of the clothing like this, separately out sections into layers as needed.  I use Group to create folders with like items.  In this case, all of the layers comprising the belt are grouped together and called "belt".  You can further group up these group folders, which is something I do.

One last note about color: keep it simple.  I had a professor who taught me that you really only need three tones to create a realistic form: a mid-tone, a highlight, and a shadow.  That's really it.  So when I'm painting or drawing, I keep that in mind. With these Photoshop paper dolls, I have a color layer (the mid-tone or main color of the object), a shadow layer, and a highlight layer.  It's possible to create more depth with more colors and layers.  Occasionally, I'll do that but mostly, I stick to three colors.

I hope this demystifies a little bit of how I color these images.  It really isn't complicated, aside from making sure I'm on the right layer at the right time!   Any questions, etc, feel free to let me know!

Friday there should be another doll posted and hopefully a new Josephine next week.  Feel free to send me theme suggestions! I love those!


Friday, March 3, 2017

Tween Fashion Friday - Moira

Happy March! When I was a kid in northern Vermont, March was still fairly chilly but all of the tapped maple trees were a clear indication that spring was on its way.  Today, however, in northern Massachusetts, I've been walking my kiddos to school in unseasonably warm weather. 

The weather seems like a silly thing to talk about and yet, I do. A lot.  I'm the sort of person who thinks a lot about place & history, and weather is a big part of a place.  My place has always been New England and something we Yankees love talking about is the weather. When is the first snow coming, the first thaw, when are the trees getting tapped, when will the corn spring up, are the apples ready for picking...etc, etc. I love it.

Today's doll is a bit of an homage to place and history.  It was brought to my attention that I should make a Celtic or St Patrick's doll.  (I have. A couple of times. Like here. And here.)  When I think of St Patrick's Day I think of Ireland, of course.  My grandfather's great-grandfather (so 5 generations back....) left Ireland for northern Vermont.  We haven't retained much "Irishness", honestly.  So when I think of my Irish roots, I really think of my Vermont roots.  I suspect that the green hills & agricultural nature of Vermont was at least somewhat familiar to these immigrant families.


There were a few things I wanted to avoid with this set: no redheads (I've done that) and no stereotypical symbols (though I did slip one in).  My Irish ancestors had black hair and dark eyes.  Funny enough, my Scottish ancestors were redheads -- as is one of my nieces!

I knew I wanted to make a cozy sweater.  I love green, so that was a natural choice.  And I slipped one little shamrock.  The shorts & sandals are there partly because I had the space for them and partly because of the northern Atlantic Ocean.  If you have ever been to the northern reaches of the East Coast, it gets cold! The range of temperatures can be extreme.  Shorts at midday and a heavy sweater by evening is not unheard of!

So long story short, this is my New England interpretation of an Ireland I've never visited but hope to one day.