Monday, April 27, 2015

Fantasy Paper Doll: A Work in Progress

Over the last couple of years, my art creation has taken on some seasonal changes.  My "studio" is a basement room and heating it is a challenge, so I don;'t do a lot of painting or traditional media during the cold months.  In the spring and summer, my sons and I spend hours at playgrounds. During these months, I carry a sketchbook and get some drawing done outside.  As a result, I create more digital art in the winter months and more traditional media art during the warmer months.

This project is one of those warm weather projects.

For a while I've been thinking about how to create paper dolls while utilizing a sketchbook.  I recently created some paintings for my niece, where I transferred drawings to canvas using carbon paper.  Carbon paper! Pretty much the perfect transfer method for a sketchbook.  I've also been thinking about creating a fantasy paper doll for a while.  There are tons of amazing fantasy paper dolls at Paper Thin Personas -- and I felt inspired by them. Also, I have a bunch of reference images saved on Pinterest so now seemed like the perfect time to start.

Here's a brief walk through of my method for creating a fantasy paper doll. (The doll can be downloaded at the end of the post.)

My first step was to find an appropriate pose. I follow several artists on Pinterest and DeviantArt who specialize in poses.  This pose came from Kate-Fox and I strongly suggest her dA site as a starting point.  Her poses are imaginative and energetic.  She states very plainly that her poses are not standard anatomy, but more fantasy/comic book.  It helps to have a solid working knowledge of anatomy if you choose to use her poses.

I create most of my paper dolls on a 7 or 8 head scale (see here for more details).  Here's the initial sketch.

The next few images don't require a lot of explanation.  They're just in-process sketches.  In this one,  I started blocking in my pose.

Fleshing out the body and tweaking the pose somewhat.

More of the same.  I've been drawing for most of my life, and I'm just now comfortable with drawing hands.  They aren't perfect, but I don't hate them anymore either.

The large muscle masses have been drawn in at this stage.  The proportions on this figure are a little rounder & fleshier than the pose I used.  The pose sketch was just for reference, not for copying exactly.

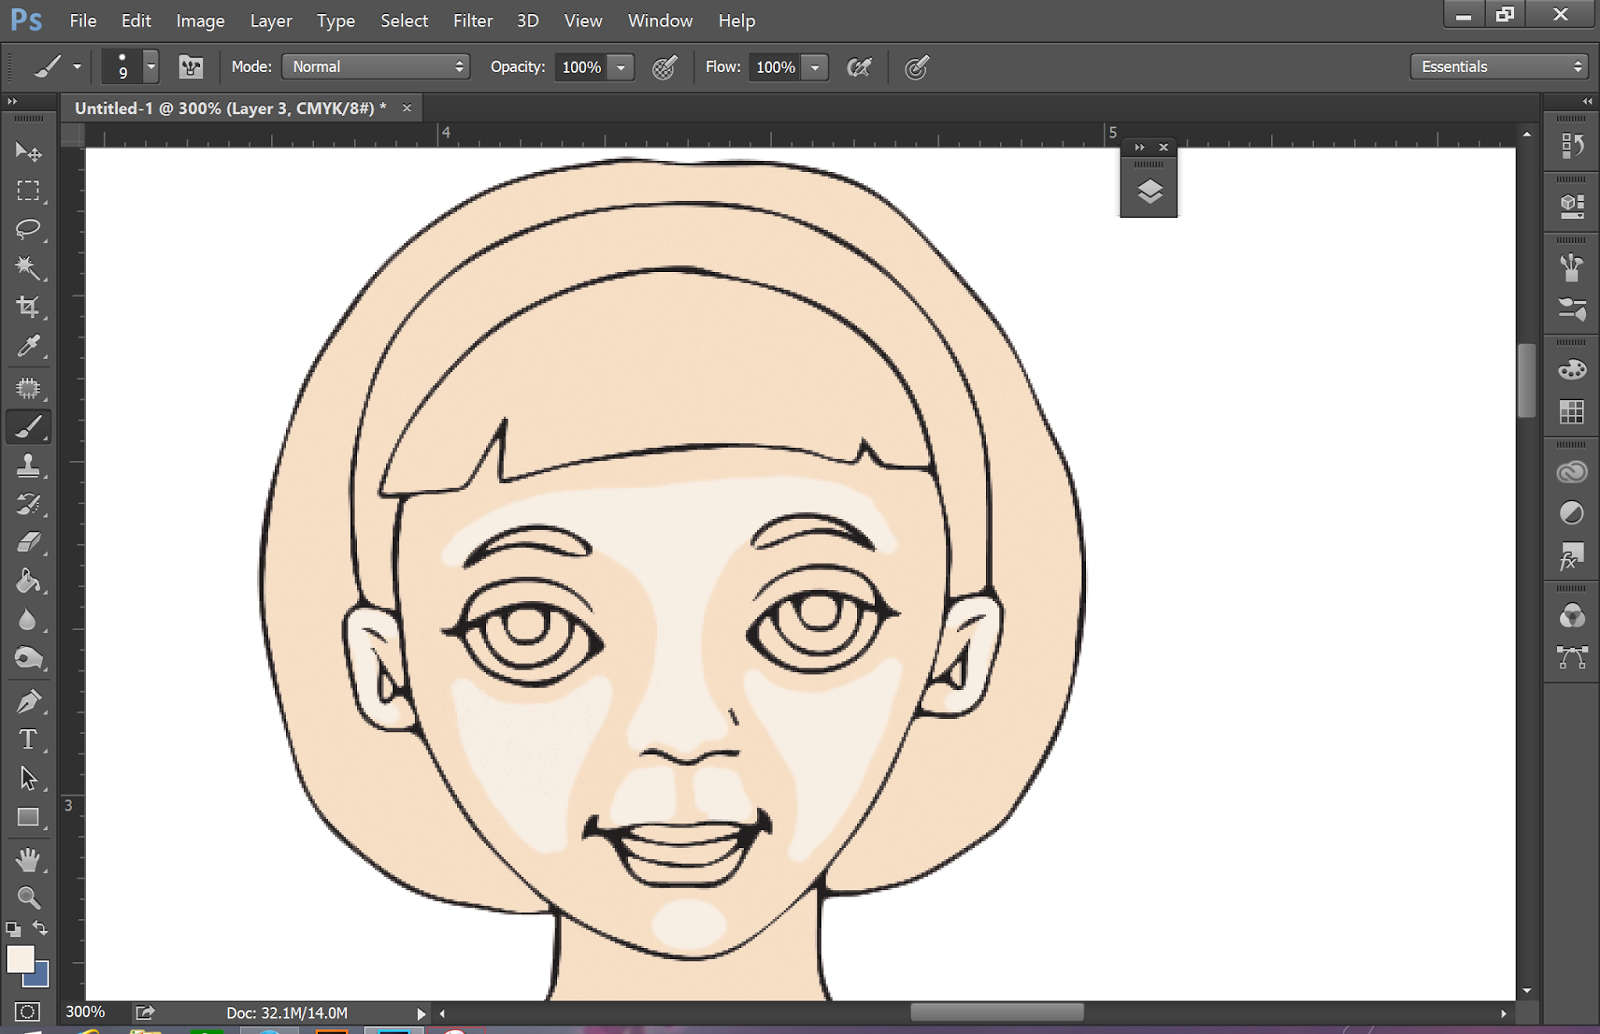
I started drawing in the face and other details.  I knew I wanted a dressed doll with shoes.

At this point, I started thinking about clothing and hair.  I agonized over how to dress this paper doll!

I finally settled on a steampunk inspired corset and knee high boots.

One of the nice things about these sketches is how you can see my thought process.  I went back & forth about what to dress her in, how to style her hair, etc.  You can see it in the sketches.

The pencil sketch is just about finished at this point.

And here I started outlining the doll in ink.  I love Micron Pigma pens and highly recommend them.

Everything is inked here but the pencil lines haven't been erased yet.

I wanted to do a hand-drawn paper doll SO much!! This is going to be an on and off project when I have time.


My final image ended up being much smaller than a standard paper size.  I decided to take some inspiration from Paper Thin Personas and add a border/background to the doll.  Both the border and the banner are from openclipart.org.  It's a bit of a hit or miss resource, depending on what you're looking for.  And the font is one of the Kingsthings family, available here and other places.

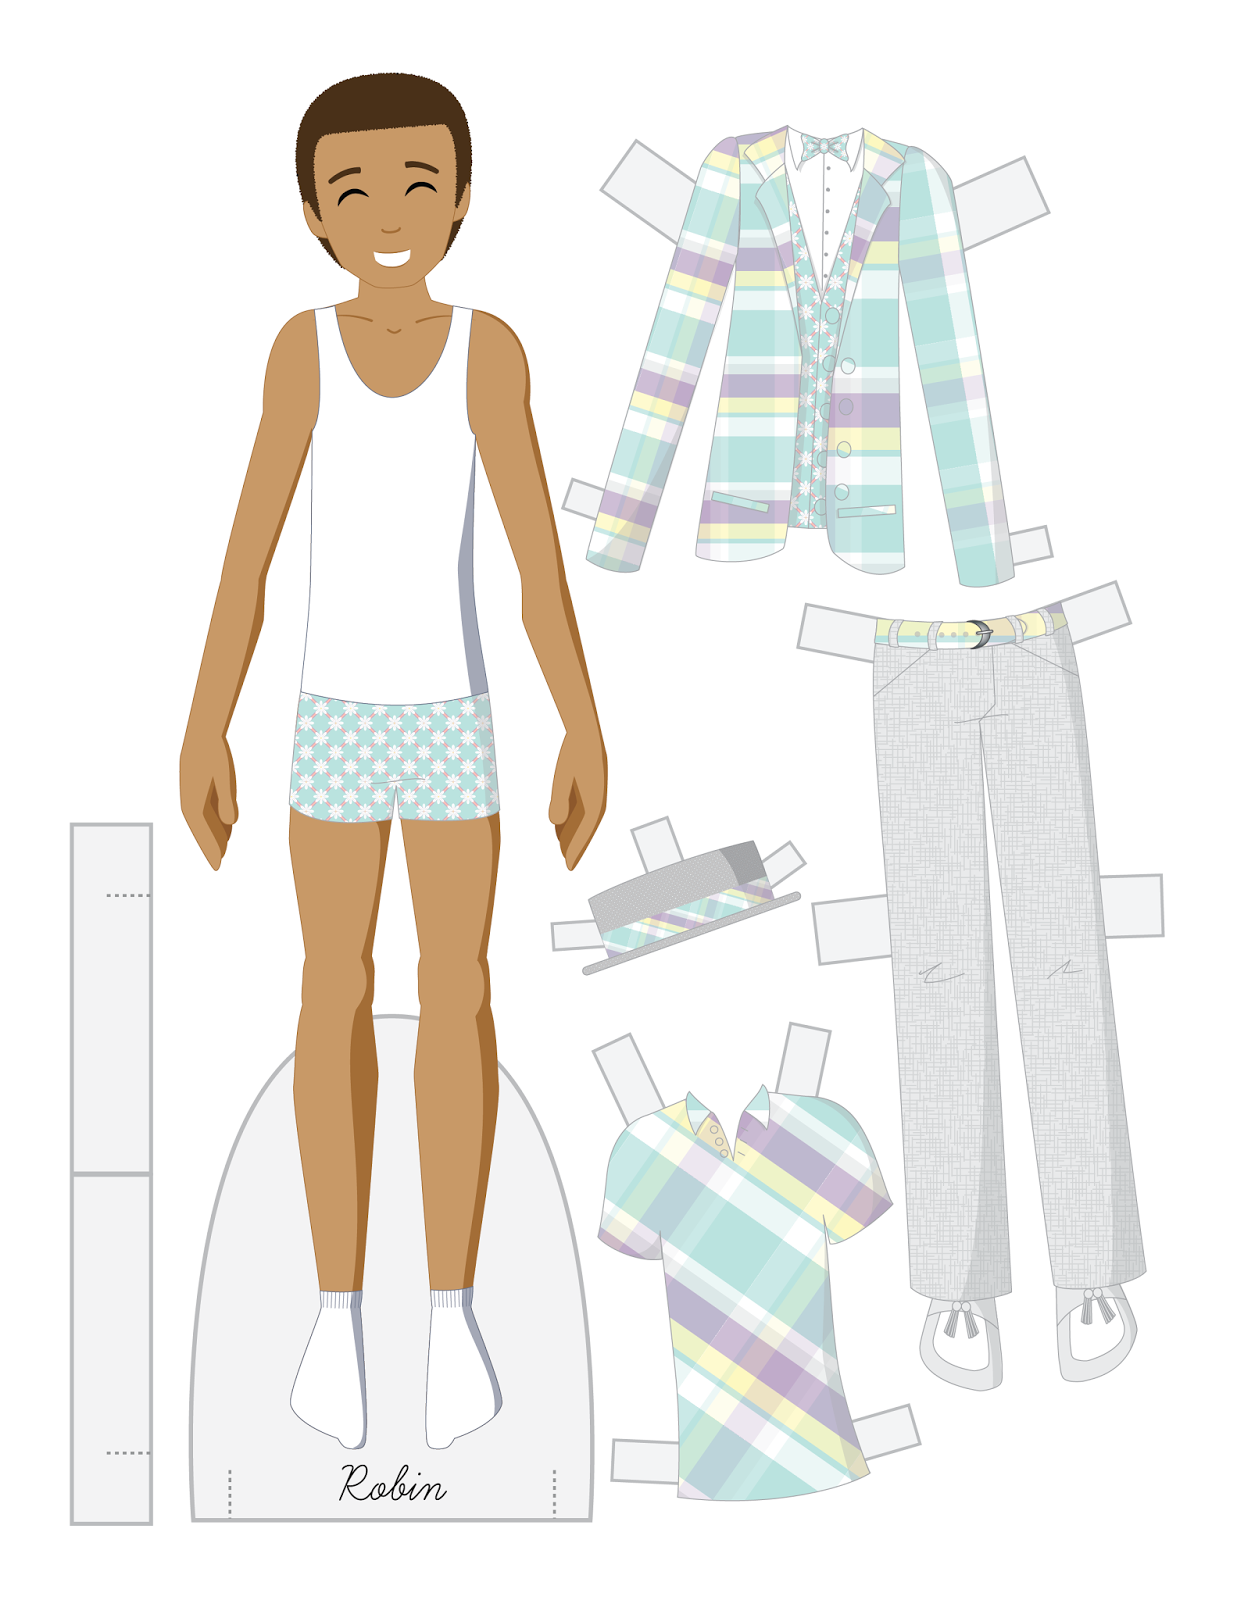
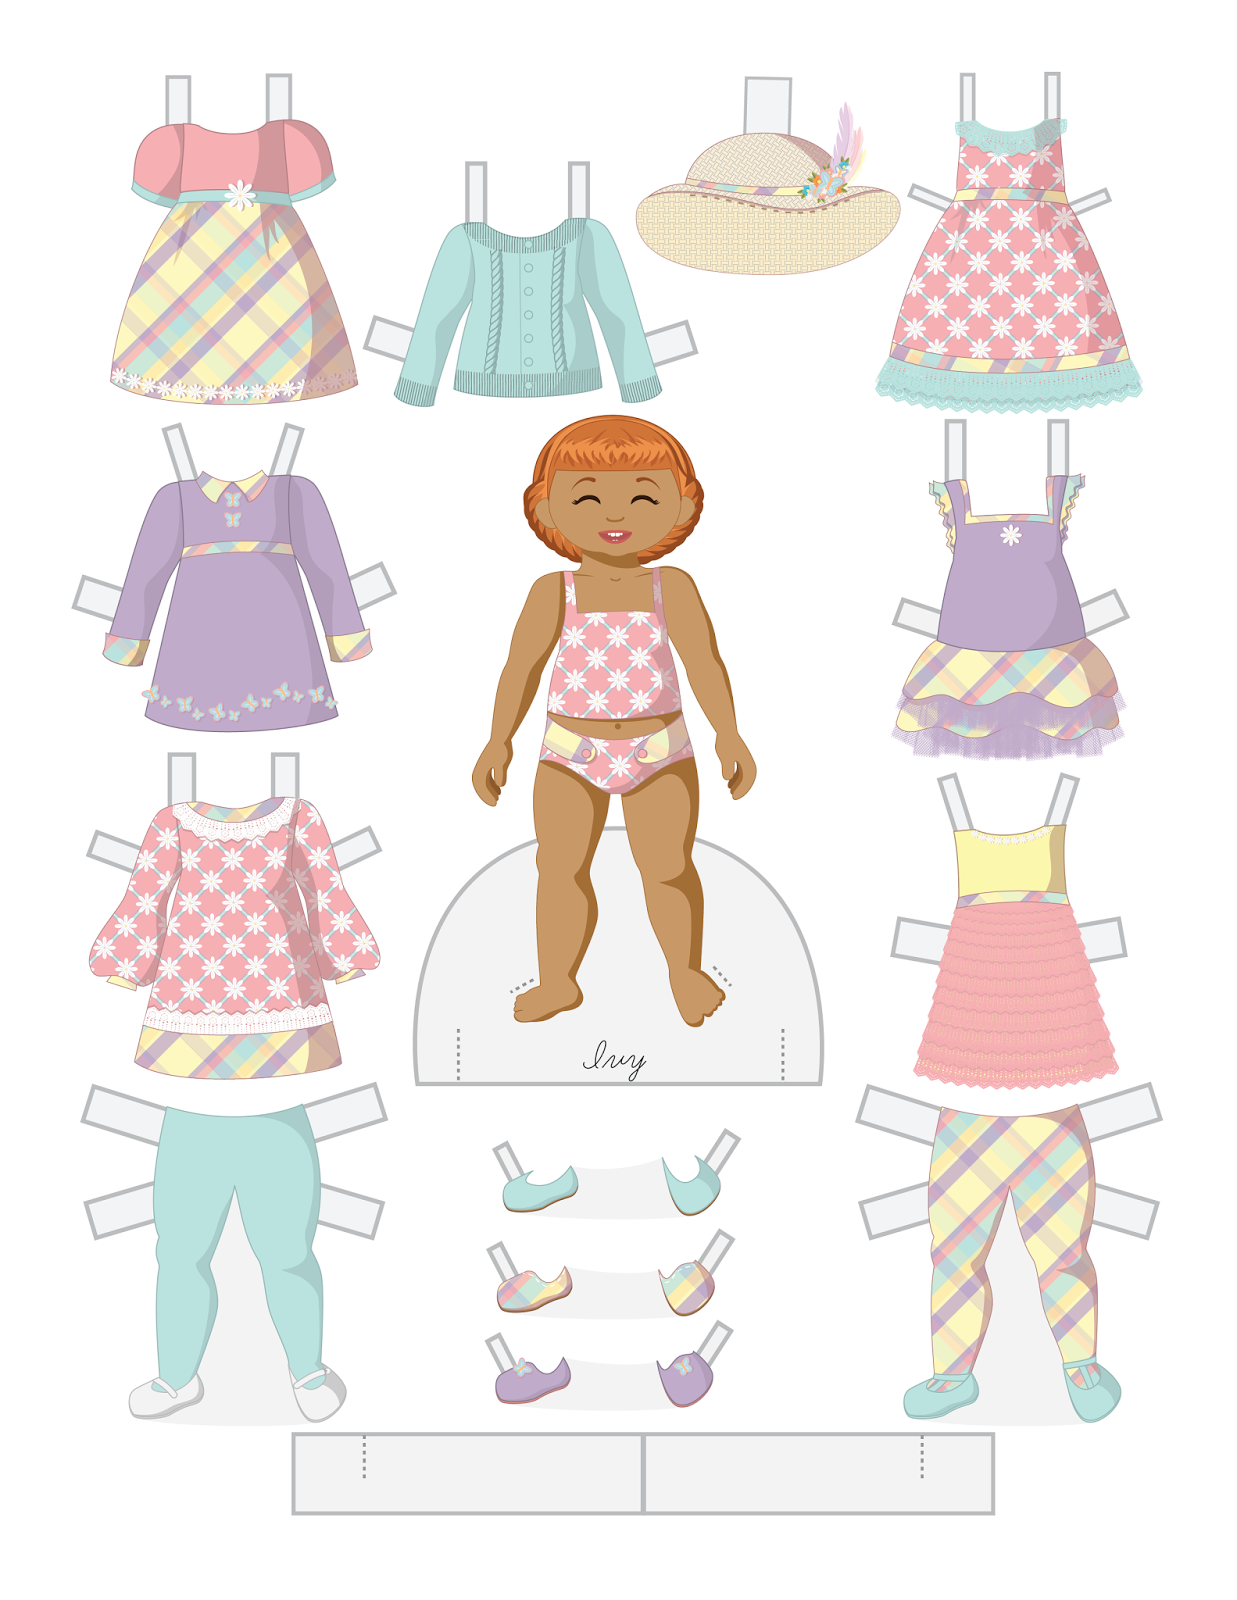
And what fun is a doll without clothing?

Let me know what you think!  I'm excited to do some drawing.  I'm looking to keep these simple & quick, so the drawings may be a little rough.  I'm doing minimal editing in Photoshop.  Maybe at another point I'll polish this up.  Look for more installments sporadically!


Friday, April 24, 2015

Toddler Fashion Friday - Andrea

This week we have another toddler paper doll, Andrea.  This one is based on Abigail, from October 2012. Sometimes I look at these dates & I'm amazed that I've been able to write about paper dolls for this long!


I really love the pattern & sweaters in this set.  I know I say this almost every week, but I really enjoy revisiting previous patterns & colors in these toddler paper dolls.

And I just want to say that I feel bad about missing a post last Friday.  I had some things to take care of on the home front and simply didn't have time to post.  My oldest son is getting ready for Kindergarten and we've been putting a lot of time & effort into prepping him for that.  I'm sure I'll be a disaster in August when he starts school! 

I'm hoping to have a post or two ready for next week.  Stay tuned for that!

Monday, April 13, 2015

Quikie Tutorial: Shading Skin in Photoshop

It's tutorial time! I'm trying to write tutorials as I learn new techniques, rather than trying to force myself on to a schedule.  Lately, I've been spending more time in Photoshop than usual, and I've been testing out some new techniques. I find Pinterest to be an amazing resource and this tutorial is similar to one I found there.

In the tutorial I found, the artist used Paint Tool SAI.  It's a tool I'm unfamiliar with, but it seemed like the technique would work in Photoshop.  Essentially, the artist painted the darkest skin tone, then built up light tones over than using a blur tool. That's pretty much the complete opposite of how I work!  So here's how it went for me....

I'm using my December doll to demonstrate.  Here I have the outlines on one layer and a skin base color on another layer.  Doesn't really matter what skin tone you use (light, dark, etc) but use the darkest version of it.  This will become your shadow.

Create a layer above the skin base but under the outline layer.  Using a hard brush, draw in a lighter skin tone.  This will become the middle tone of the skin color.


Once the light color is blocked in, go to Filter > Blur > Gaussian Blur and play around with the slider.  I'd like to say there's some perfect number but there isn't.  It's just playing around til it looks good.

This can be done several times, and I find it works best on multiple layers.

Here I added another light tone above my first light layer and added a dark layer between the light and base tones.

I find the best use of this blurring technique is creating blush.  It's something that almost never looks good on my previous dolls.  This, however, works really well!

The two images above show the blurring technique first and the original paper doll second.  In the top image, there's a nice glow created by the different blurred layers.  With the second doll, it's much more flat (and pale!)

One note: if you're using a background color and the blurred colors show on it, just erase the overlap.  I spend a lot of time adding color, then using the magic ward to select outside my outlines and removing extra color.  Sometimes it works well, sometimes you need to zoom in and erase.... 

So that's what I've been working on!  I find that building up blurred layers can also work on hair, too.  Play around with different layer opacity settings, too.  Soft Light can be very effective.  Let me know how this works for you!


Friday, April 10, 2015

Toddler Fashion Friday - Shelby

Just a quick toddler post today.  It's been a crazy week. Again.  I feel like it's just going to get crazier as the kids get older.

Part of it, though, is a project I'm working on.  I'm playing with some new techniques in Photoshop and I'm hoping to share a tutorial on Monday.  We'll see if that actually happens...!

Today we've got Shelby, based on Sarah.  I love the bright green & yellow!  It's a dreary day here in New England.  Spring feels far off even though I know it'll be beautiful tomorrow.  So I'm fighting the fog with bright colors!


Friday, April 3, 2015

A Family at Easter Paper Doll Set

First off, just a tiny little rant: I replaced my Surface Pro 3 AGAIN this week.  The folks at the Microsoft store were super helpful (and so awesome to my kids!) but seriously, I'm tired of replacing my computer ever 90 days.  This time, the touch screen malfunctioned.  Kind of a problem since that's the whole reason I bought this computer!  Anyway, they replaced my machine & that's great, but Microsoft -- please get your act together with the Surface. It has the potential to be amazing. Thanks :)

Now that I got that out of the way, I have an Easter family paper doll set this week!


This set has a mom, dad, and toddler.  Well, that's how I think of it anyway!  If you'd like a family with a different configuration, all of this outfits fit all of the previous paper dolls.  Maybe not the hats, though.  That might take a little experimenting!

Each set is named after something spring-ish.  The mom is Dahlia. She's got a sweater and skirt as well as the dress from the cover.

Robin, the dad, has an outfit inspired by the mom & daughter.  I made his daisy pattern & plaid blue tones instead of pink tones.  And I love the grey!

And finally, little miss Ivy.  I skipped the mix & match wardrobe this time and went with just dresses.  Her hat is the same as Dahlia's.  I don't draw a lot of hats so if these are a little off, then, well, I guess I need more practice!

Also, I've started venturing into stock art.  I love creating vectors, so I thought I'd try selling them.  Some of the elements in this set are from this experimenting. You can find them here and here.

And one more note.  If you love the font on the paper doll cover as much as I do, you can get it here.  I grabbed it for free during a promo, but all of the Ornaments of Grace sets are gorgeous.  (And I don't know the artist or have any financial interest, etc.  Just sharing something I love! Good karma & such.... )

So to all of you celebrating Easter, enjoy it!  I'll be cooking for my in-laws and having a generally busy weekend!!