Thursday, February 26, 2015

Toddler Fashion Friday - Ainsley

Today I have a very purple toddler paper doll to share! This one was inspired by Avery -- a paper doll I literally wrote nothing about!

Well let's remedy that.  Avery was meant to be a sun-loving beach blonde.  Maybe she's a California girl with a spiffy business wardrobe.  Ainsley has a tailored little lady wardrobe to go with Avery.


I'll admit, this doll was a bit rushed.  This is another big weekend here, with lots of family coming to visit.  My youngest son is turning 3 and we're all very excited! It'll be a fun party for all of us!


Friday, February 20, 2015

Toddler Fashion Friday - Hailey

We've had a busy week this week: two playdates, appointments, and preparing for my youngest son's birthday.  Some weeks are just more "life" and less "paper dolls" I suppose.  The boys love playing with other kiddos and I enjoy have coffee with grown-ups, so all-in-all a very good week.

Today is another toddler paper doll.  I'll be at these for a while -- I'm really loving these! This one is inspired by Hannah, with her sort of 80s inspired fashions.


Hailey also has an 80s inspired wardrobe.  I was a kid in the 80s, but it didn't have much of an impact.  I didn't really think about clothing then!  Well, aside from wanting to go to private school and wearing my plaid skirt as often as possible.  And I didn't like corduroy.
 
This wardrobe has neon colors, asymmetrical necklines, acid-washed jeans, and vivid patterns. I tried making high-top sneakers.  They have a Marty McFly vibe and I kind of love it!  I tried to create an acid-washed effect on both the jacket and jeans.  I used a gradient mesh in Illustrator.  It's a tricky tool to use and I haven't spent much time in it lately.  I also created a tulle effect using a pattern fill.  It was easier than I thought it would be, so look for more tulle in the future! 


Friday, February 13, 2015

Toddler Fashion Friday - Molly

I got a bit carried away with this week's doll and jammed in a couple of extra pieces!  It's just been so nice looking back on previous dolls and rethinking them.  The colors I used in Mia (especially the plaid) were perfectly suited to a toddler fashion wardrobe!


I probably should have posted as Valentine's themed doll.  I didn't.  It's been so cold and snowy here that all I can think about are blues & greys!! 

Also, I want to say thanks.  I don't say that nearly often enough.  February has been a big month for me as far as paper doll book sales.  I'm immensely proud of being a working artist (even if I'm not a pay-the-mortgage level working artist!!). Creating art is my vocation.  I happen to create paper dolls right now because I love it and it's a non-messy art form that I can do around my kids.  Every book sale, comment on the blog, social media share, etc, helps me keeps me doing the work I love.  And I'm glad so many people outside of my little corner of the universe enjoy what I do, too.

So thanks!  Have a happy Valentine's day.  And stay warm. Still.  We're in for another whopper of a storm in Boston!

Monday, February 9, 2015

Quickie Tutorial: Coloring Line Art in Photoshop

It's Monday, and in New England that means snow, apparently.  The Governor of Massachusetts held a news conference this morning and said that the greater Boston area has received between 70 and 80 inches of snow in the last 15 days.  We're getting a bit snow fatigued here....

And that's why today's tutorial is a quickie!

I've wanted to learn how to recolor black line art in Photoshop for a while.  I read several tutorials and decided to distill all of that into a quickie tutorial here.  There are more in-depth ways to do this and you can certainly search for those.  Here's my version.

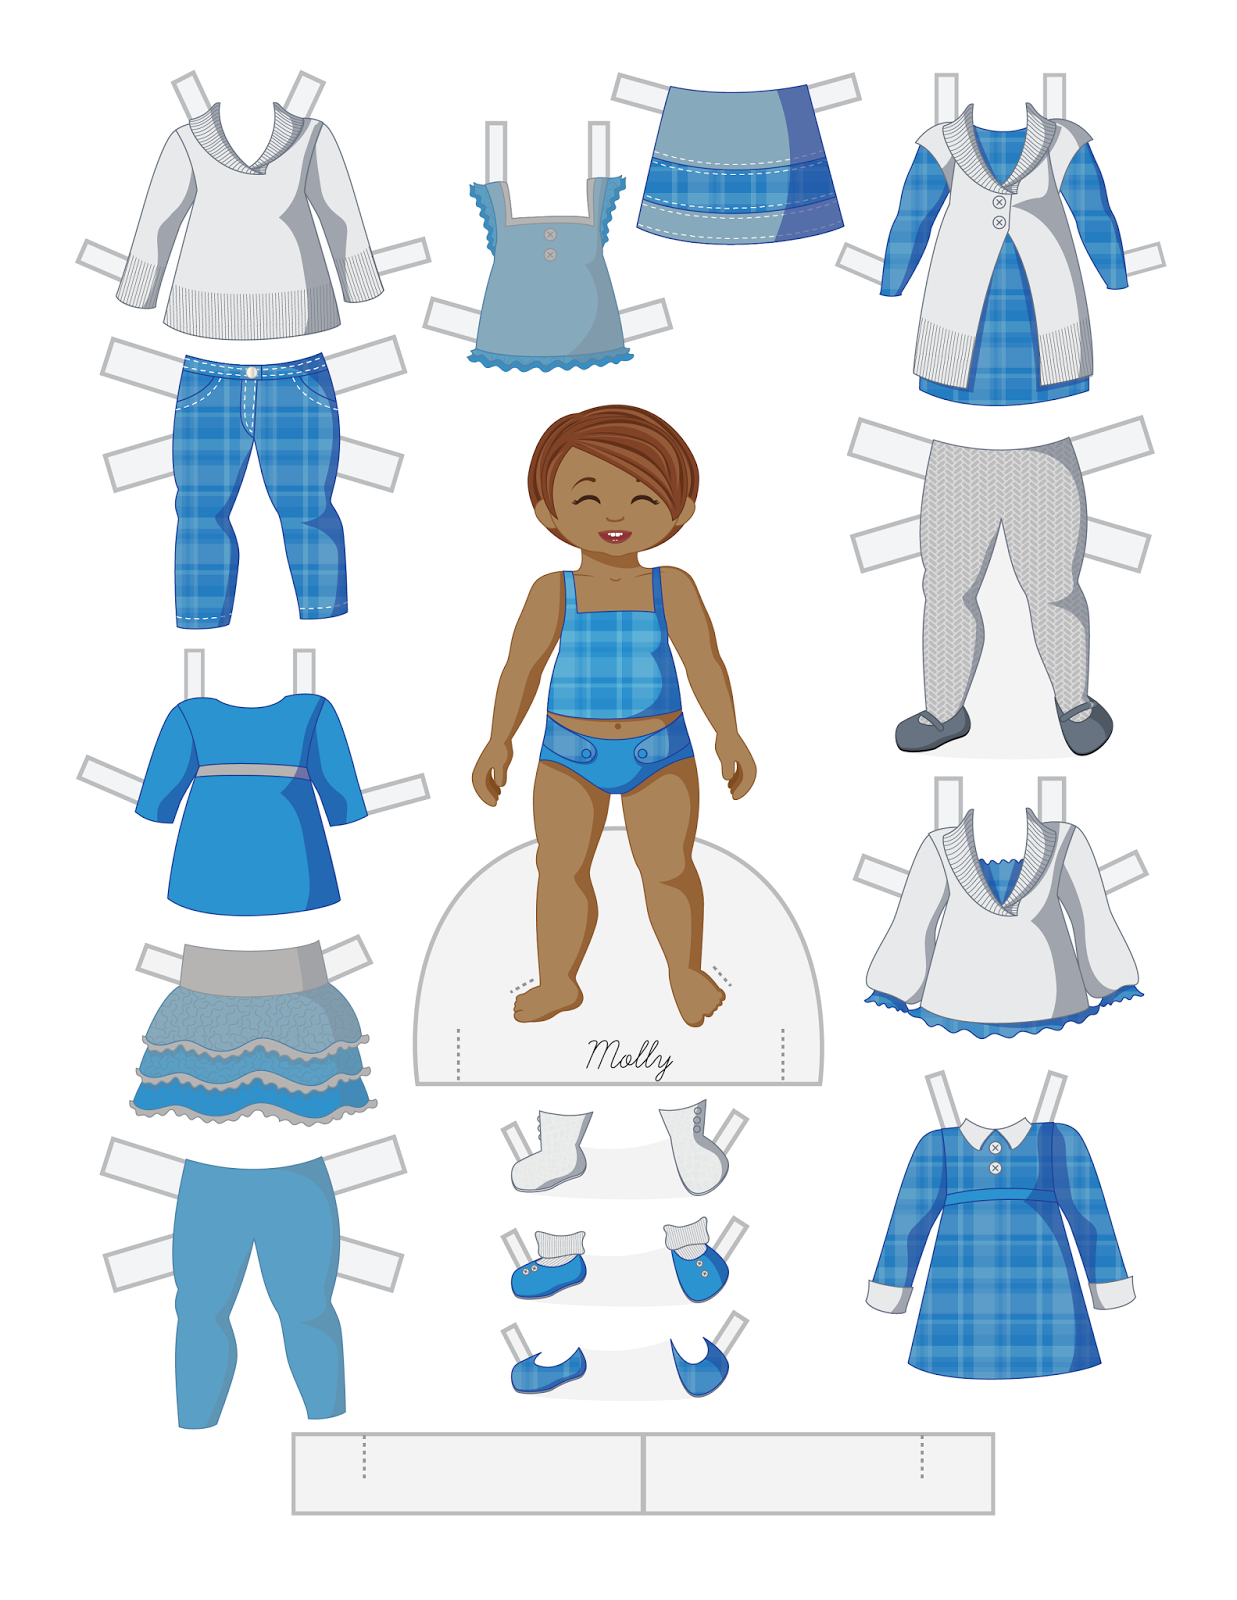
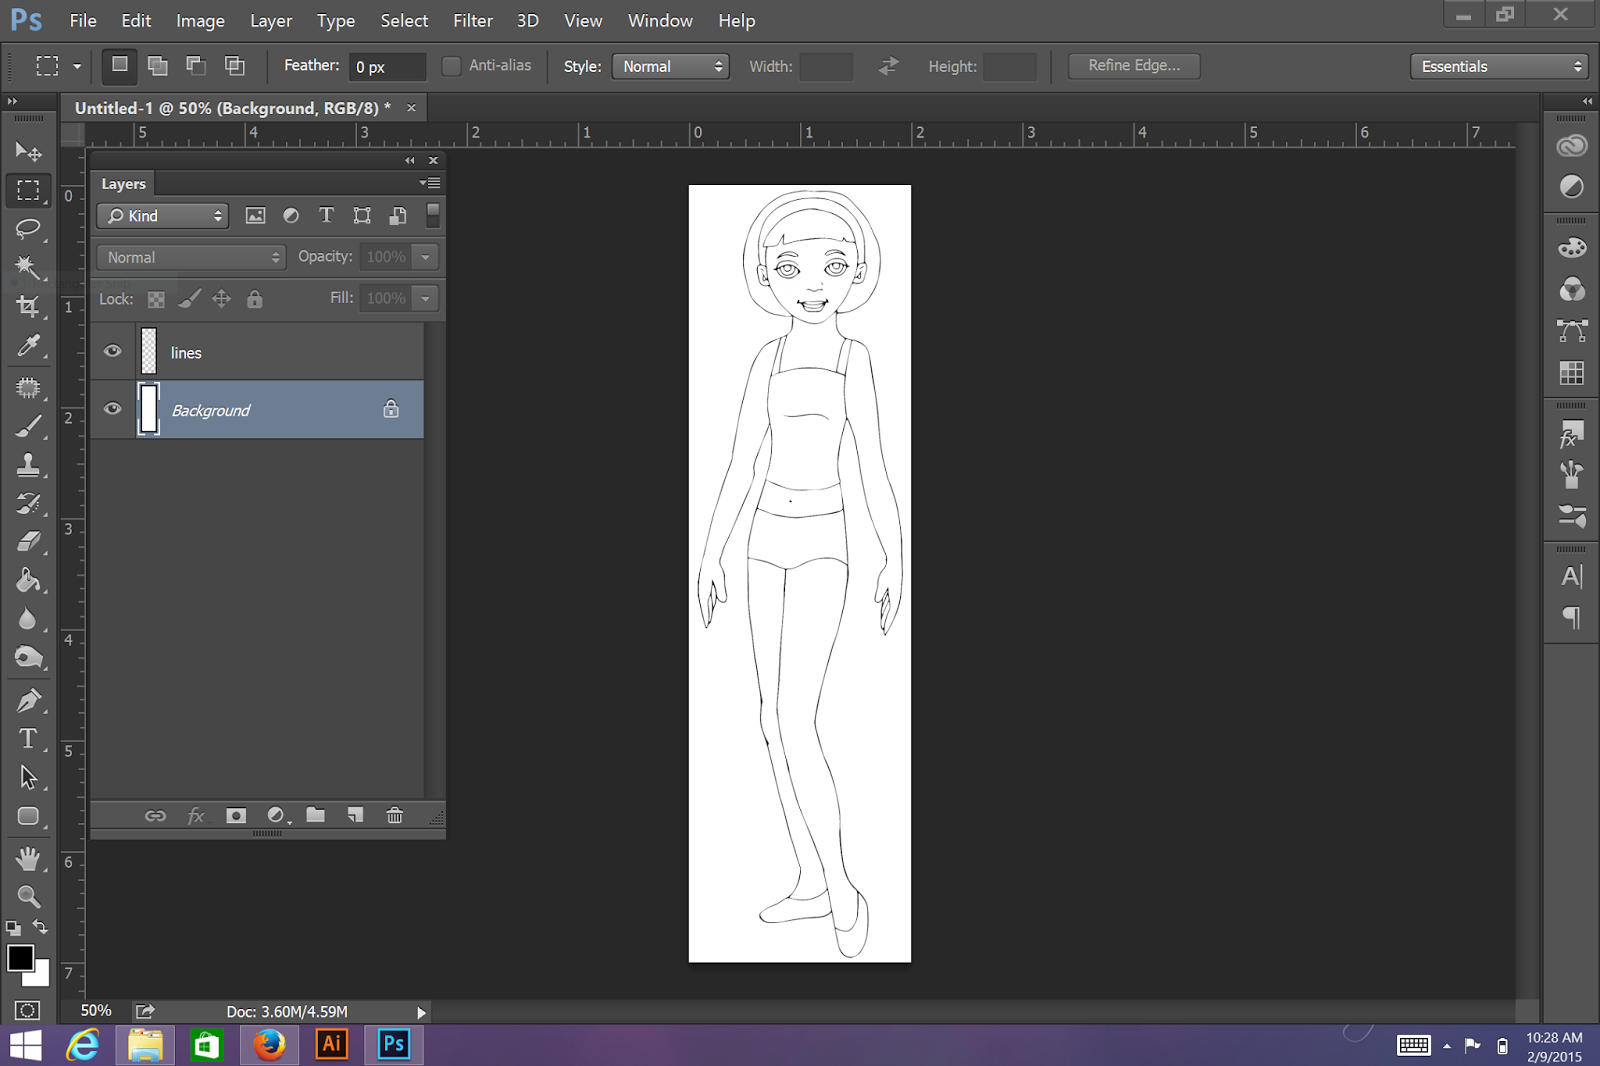
To begin with, you'll need a black and white image - no greys.  I am using my December holiday paper doll for this.  Conveniently, I already have my lines isolated on a layer.  If you do not, go ahead and isolate your line art.

Currently, I have two layers.  My white background and my isolated black line art.

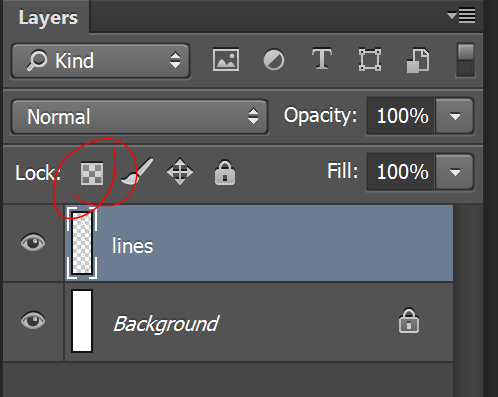
Click on your line art layer and then click on the little square.  I circled it in red.  This is the Lock Transparency option.  I'll admit, in all of the years I've used Photoshop, I never bothered to click that button! This will make any black pixels (100% black only!) transparent.  It's a little like the Multiply setting.

Once you lock the transparency, you can paint over the line art layer with colors.

I took the paint brush and colored over portions of my line art with different colors. When I paint my paper dolls in watercolors, I like to use colored outlines.  I do this in Illustrator, too, but couldn't figure out how to do it in Photoshop.

This method also works with layer effects.  Click on the fx button at the bottom of the layers panel.  This opens the effects panel.  You can add a gradient effect, a texture effect, etc.

So that's it.  Something to try!  This was a really quick tutorial and it would be interesting to see how this works with a complete painting.  I'll get to work on that!

If you're in New England, enjoy the weather.  If not, consider yourself lucky!!


Friday, February 6, 2015

Toddler Fashion Friday - Ellie

Here's a sparkly toddler paper doll for your Friday! I have to say, these are a blast to create and the response to these new toddler dolls has been fantastic! Seems like everyone out there enjoys these as much as I enjoy making them!

In a somewhat unrelated tangent, there's a Hungarian blogger who mentioned one of my wedding paper dolls.  Check out her blog: http://www.oltoztess.hu/papirbaba-menyasszonyok/. I used Google translate to read it and I think the translation was close!  I'm always amazed at the places & people who discover my paper dolls.

Anyway.... Here's Ellie.  Ellie is based on Eliza.  I love revisiting these older dolls...and I really need to print them out! Maybe during the next snowstorm this weekend!


For those of you in the eastern US, gear up for more snow! I'm getting sick of it, too, and I'm a born Vermonter.  Ugh! Stay warm!!

Monday, February 2, 2015

Fairy Tale Paper Doll Book Published

For a while now, I've been working on a fairy tale paper doll book.  It was a bit of an on & off project when I had the time.  I took all of the previous Fairy Tale Friday dolls, expanded their wardrobes, and added three new characters.

I wanted the covers to look a bit like a classic fairy tale book.  I also wanted to fit 4 dolls on the front & back covers.

It was really important to me that these prince & princess characters where diverse.  Sure, I only had 2 of each so that doesn't lend itself to a lot of diversity, but there ARE 4 unique skin tones here.

Here's a small preview of the paper dolls dressed up.  Sleeping Beauty and the Frog Prince are on the top row, with the Beast and the Snow Queen on the bottom.

And here's a preview of the whole book. It includes 12 full-color pages and 2 coloring pages.  The characters in this set are: Snow White, Cinderella, Beauty, Rapunzel, Red Riding Hood, the Little Mermaid, Goldilocks, Sleeping Beauty, the Snow Queen, Prince Charming, the Frog Prince, and the Beast.

Of all of these, Sleeping Beauty is my favorite! Obviously these are sort of Disney influenced but not tremendously.  Cinderella and Beauty are probably the most Disney-ish. And I used the same colors & patterns on Beauty and the Beast so that they were a cohesive pair.

If you're looking to pick up your own copy, it's available on Lulu.com.  I'll get it up on Amazon as soon as I order my proof copy....which will be soon because I'm eager to see this in print!